
Valentine Theme Week- Day 1

Hello everyone, Joni here!
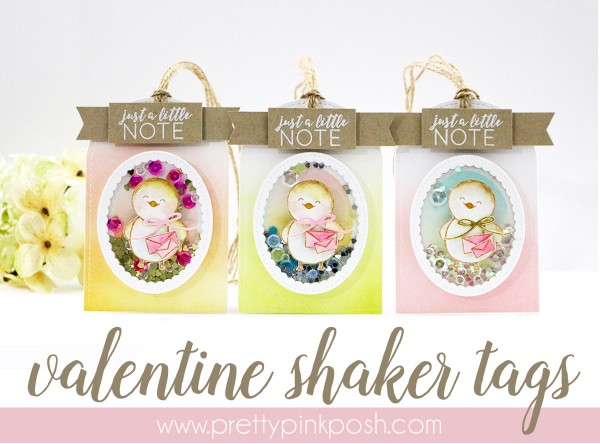
Welcome to a whole week of Valentine inspiration here at Pretty Pink Posh. Every day this week we will have some tutorials and inspiration that you can use for the upcoming festivities.
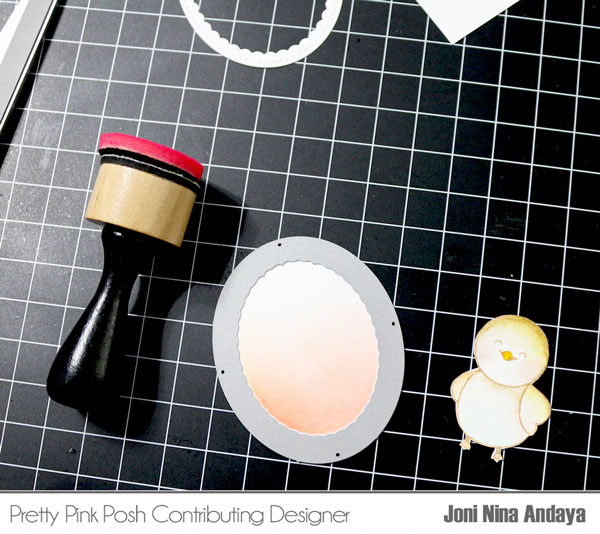
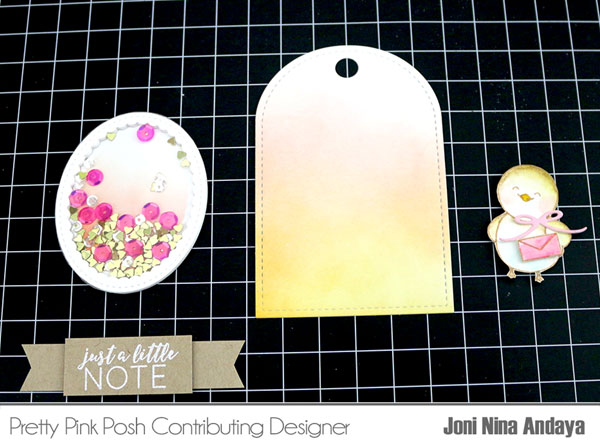
To begin, die-cut the oval scallop from Pretty Pink Posh Decorative Tag 1 dies and while it’s still with the die I then distressed it with PTI Summer Sunrise ink pad to give the color for the background. Once its distressed I then taped the back of the scallop border with the inside of the scallop. This will help me make a small oval shaker that I can add to a tag or a card.
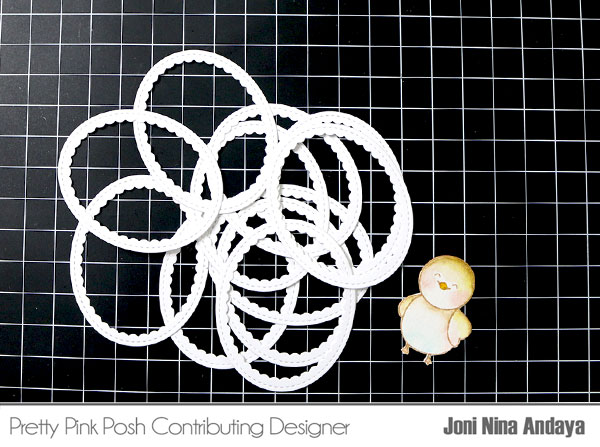
For this project I die-cut lots of oval scallop border and I usually stack 3 (glued) and adhered on the top of the oval scallop. Because the border is thin, it’s easier this way for me to hold those awesome new Mini Hearts Confetti coming your way. But if you like to cut a thin foam tape, this will work too.
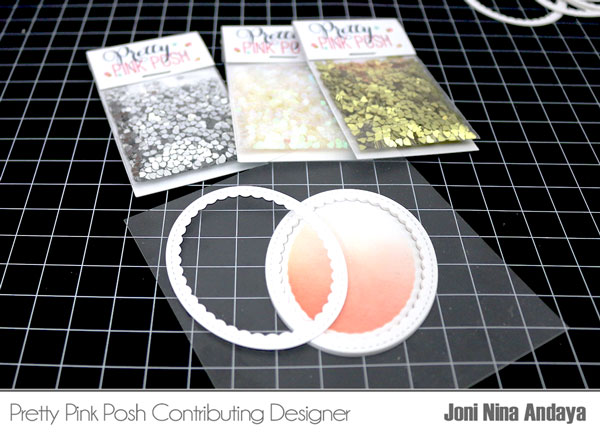
Next, I glued another scallop border on top of the clear acrylic and filled the scallop shaker with this yummy new Mini Hearts Confetti along with other Pretty Pink Posh sequins. The Mini Hearts Confetti will be available this coming February 1st.
After filling the scallop shaker, I then glued the back of the acrylic following the lines on the scallop border and adhered on the top of the scallop shaker. I trimmed the excess acrylic from the scallop shaker with scissors.
For this tag I used the Stitched Duo 3 dies and distressed. You can use other PPP tag dies for different looks too. The little cute chick is from the free stamp set Birdie Notes that was released from the recent PPP January Birthday Celebration, which I watercolored using the 60 Zig Clean Color Real Brush.
I stamped the sentiment on a strip of Kraft cardstock from the Birdie Notes with white embossing powder and heat set. I cut the sentiment into rectangle added a foam tape and adhered on top of the strip of Kraft cardstock that I snipped on both ends with scissors.
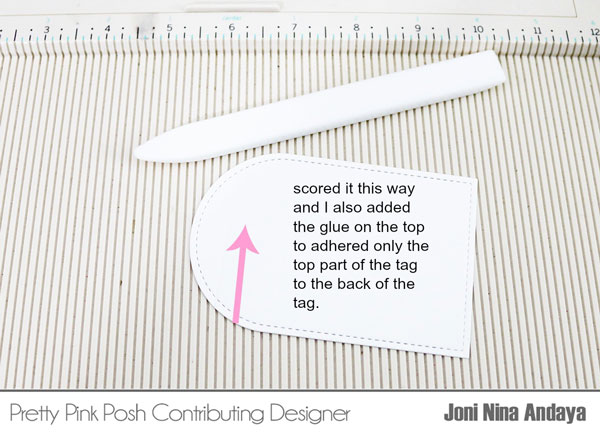
To create the note backing for the tag, I die-cut another white cardstock using the tag from Stitched Duo 3 dies and scored the top of the tag. After, I added glue on top and adhered on the back of the decorative tag.
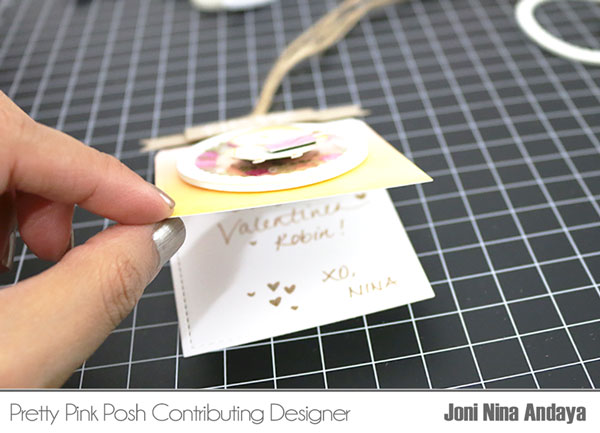
Here’s to show you when the backing is ready for your written notes.
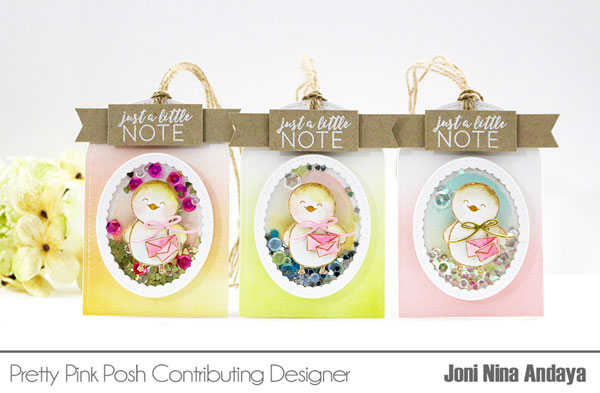
They are so fun to make and so cute. For the first tag on your left I used the new Gold Mini Confetti Heart with 6mm Fairytale Fuchsia Sequins and 4mm Sparkling Clear. On the second tag I used the new Silver Mini Confetti Heart and Share Kindness Sequin Mix. For the third tag I used the new Iridescent Mini Heart Confetti and Sparkling Clear sequins.
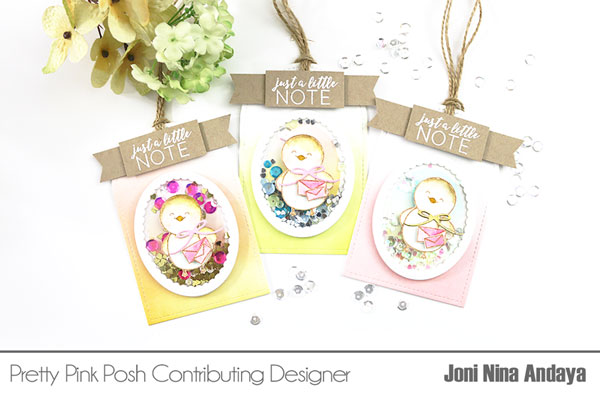
Here they are in close-up using the new Mini Confetti Hearts.
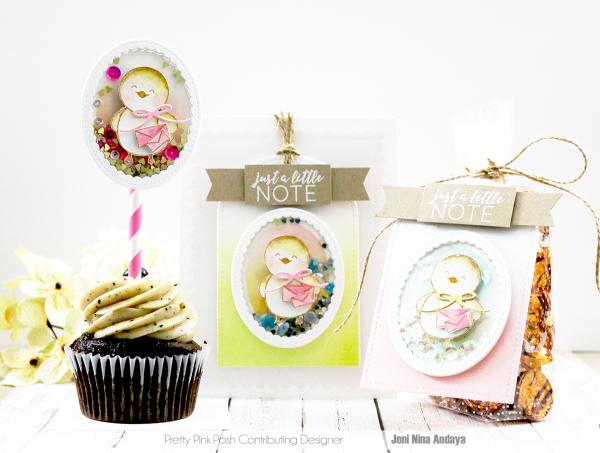
Here’s a snapshot of the little party scene I created. You can use the same concept and create darling cupcake or treat toppers. I hope you guys enjoyed and got inspired.
If you create some fun Valentine’s Day projects with Pretty Pink Posh, be sure to hashtag #prettypinkposh. We cannot wait to see your projects for Valentine’s Day!
Remember to check back here tomorrow for more Valentine inspiration. Have an AWESOME week!

Joni, you HAVE created a party with your tags! The cutest darn tags I’ve ever seen! The background shading behind the chic really set it all up for the prettiest color combos ever! Adorable!
Such a good tip to leave the die cut in the die to do the ink blending! The color combos are so so pretty! That gold and red sequence mix stole my heart :)
These are adorable!
Oh Joni, these are simply precious! Just beautiful!
OMG! These little tags with the wee chicks are so cute!! I fell in love with them as soon as I saw them! And they are colored perfectly and the sequins just make them. Perfection.
These are adorable! Love them, thank you for sharing!
Oh I want a cupcake! And the topper is sooooo cute! Fabulous work and inspiration! Love it!!!
These are the cutest shaker tags, sweet as can be!
these tags are killer… they r just so adorable… thanks for sharing them with us :)
Adorable shaker tags, the little chick is so cute
These are SO adorable!! 💖💖💖