
Watercolor Friends Tutorial
Hello everyone, Joni here!
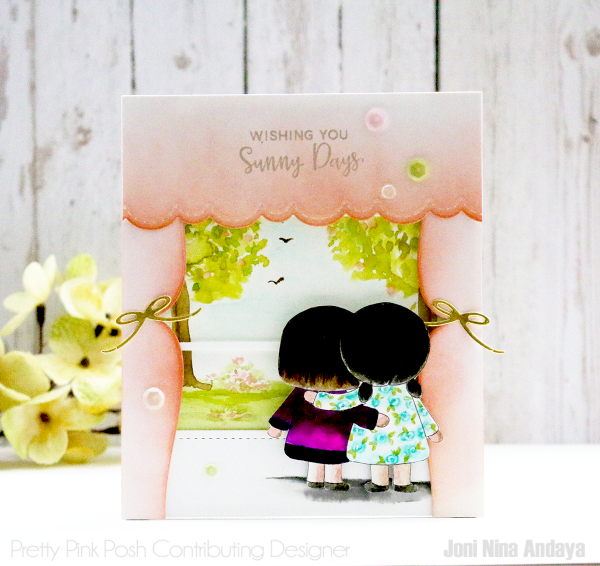
I have a new tutorial for you today using the new Storybook 3 die set to create a window scene. I also used the past released Stitched Border 3 die set for the window drapes.
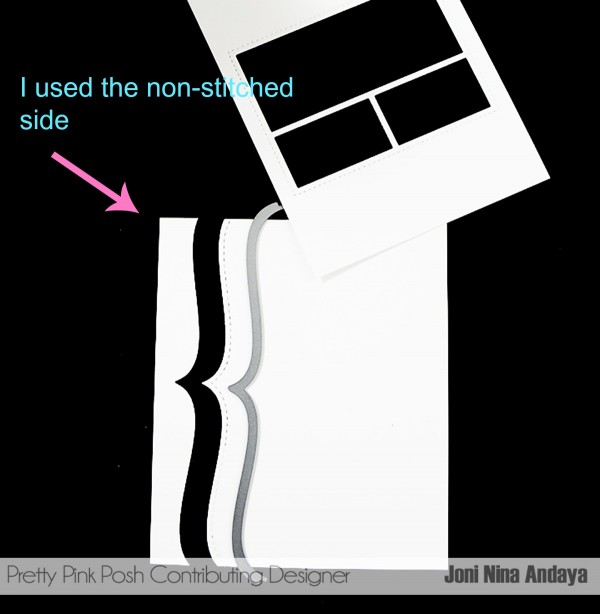
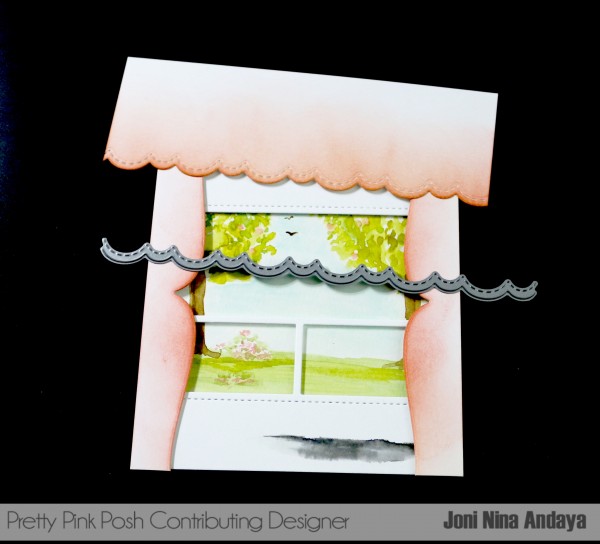
To begin, I first die-cut the white cardstocks using the Storybook 3 dies and one of the Stitched Border 3 dies for the curtains (see picture below). I used the non-stitched one for the curtains.

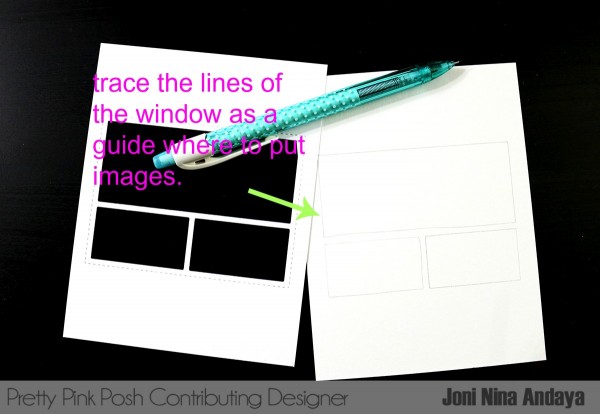
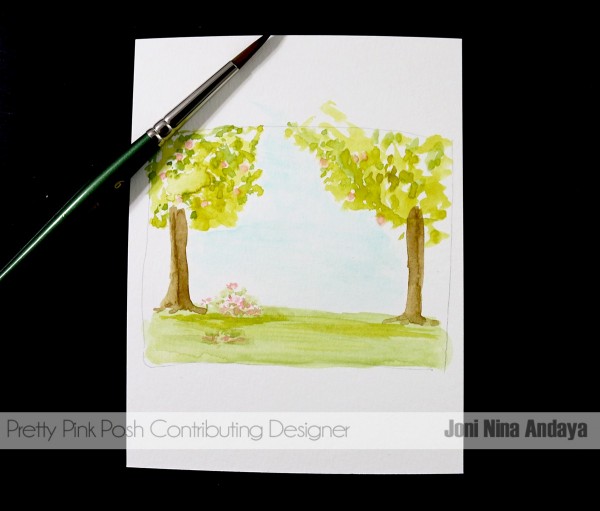
Next, I used the Storybook 3 dies die-cut as a guide to traced the lines on the watercolored paper, this will help as a guide on where to watercolor some images for the scene outside the window.
Next, I watercolored some grass and trees. To create the leaves for the trees, I just used the tip of the 6 round brush to create the leaves. This does not have to be perfect, it’s more like creating an imperfect round or oval.
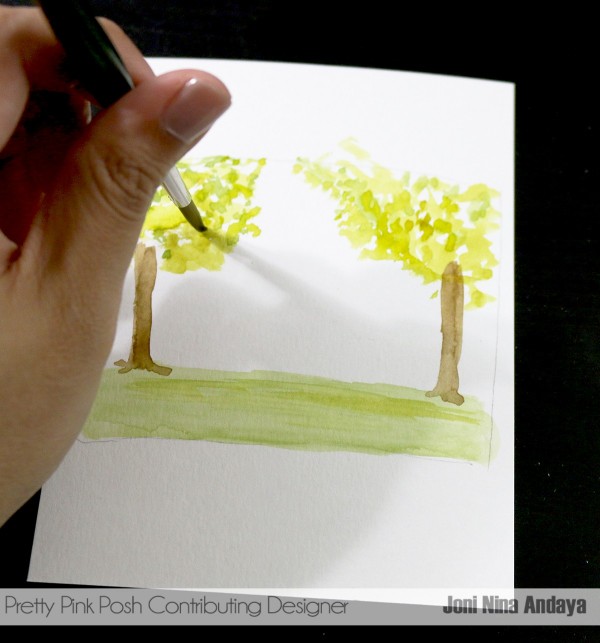
For the flowers and fruits for the trees, same concept is applied. I used the tip of the brush to create small circles for the flowers and fruits.
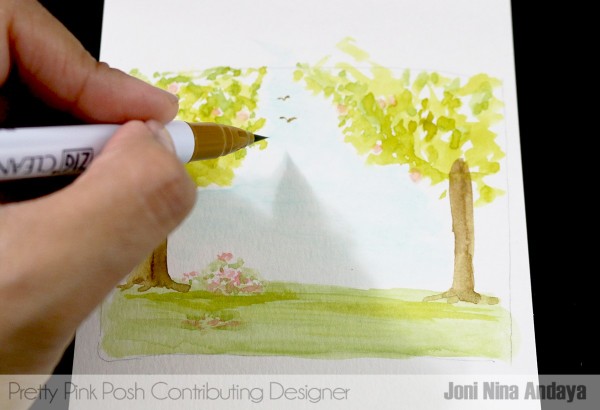
TIP: for easy application, use the tip of the ZIG Clean Color Real Brush for a much precise shape drawn image and just move the image with a wet tip watercolor brush.
Using a ZIG Clean Color Real Brush in brown, I created the birds flying in the sky.
Next, to cut the drape for the window, I die cut one of the stitched scallops from Stitched Border 3 dies and distressed it using a melon colored ink on the curtains and then adhered with foam tape.
For the sentiment I used was from the Rainy Days stamp set. The two girls by the window is available on my blog at HERE.
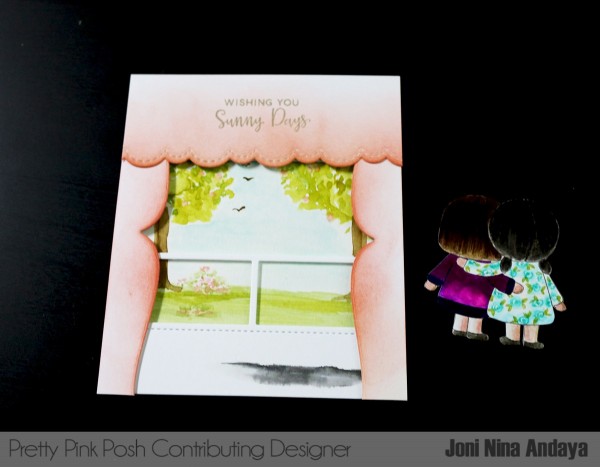
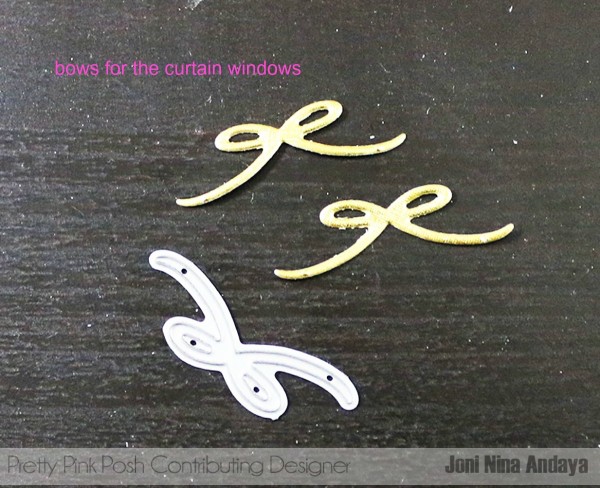
I also added the bows for the curtains using the Twine and Bows die.
The curtains, drapes, girls, and the window were all adhered with foam tape. I also used some of the new Sweet Pea Mix sequins for added touch.
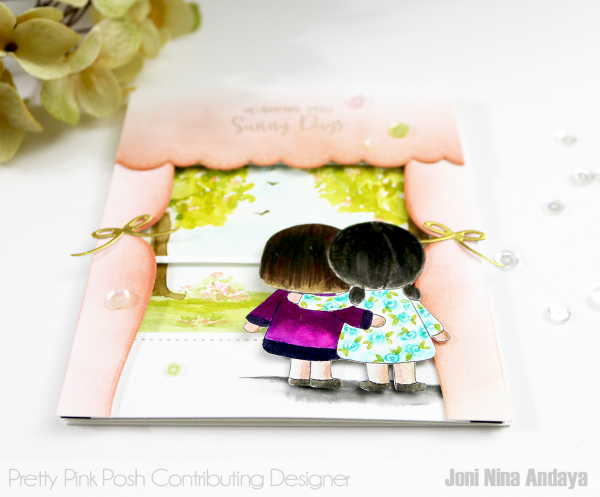
Another look of the whole card.

If you didn’t know, we’re celebrating Pretty Pink Posh turning 2 later this week and Paulina has a special event page on Facebook sharing sneak peeks and giveaways. Be sure to join us as there will be lots of guests and prizes.


Joni – you are so talented! This is an adorable card!
This is so sweet Joni. I love the two little girls. Your video is very well done and the brush tips are easy to understand. Thanks for that. Beautiful card!
Joni, this is amazing. Thanks for the tutorial as well. It helps to understand the process. TFS!
LOVELY card! Your painted scene is nice and your girls are so sweet and well done. Like how you used all the dies, too. Great card. :)
This card is so cutieeeee!!!!!
This is incredible and so so adorable!!
SUPER SUPER SUPER SWEET!! I LOVE LOVE LOVE your Card and the CUTE Image!! THANKS SO MUCH for sharing and have a FABULOUS WEEK!! =)
What an adorable scene and the curtains were a terrific inspiration!
Thanks. Lovely card. The tutorial was excellant. I feel like I could do this now.
Your sweet card took my breath away!
WOW! Lovely card. It can be used for so many occasions. Friends, sister, mother…. oh the possibilities. Thank you for the tutorial.
Very pretty card. Beautiful scene with the sweet little girls. The curtains really make it special. Thanks for all your tips about how I might create it. They are very helpful.
Wonderful! Great idea <3
Such a beautiful card!! Very nice coloring!! You have created a beautiful scene!!
-Berina
Moxie Craftie
Wow! I love this card, and the drapes are precious and so clever. And you did a great job water coloring it from scratch, awesome
Hi, this card is just wonderful. Thank you for the great tutorial. Janelle x
OMGosh your card is AWWW-dorable. Thanks for sharing it and your tutorial.
Crafty hugs,
Dawn
DesignsByDragonfly.blogspot
I love this lovely and creative card–such a sweet scene!
I love this soft watercolor card. So cute!
Wow! Your creativity is off the charts! Love this card.
Absolutely gorgeous card, Paulina. 💗💗💗
Beautiful artwork….you make it look so easy…..you inspire me :) Hugs…Janie
Joni, this is just the most adorable card ever! The image of the two girls is super sweet, but the “scene” you put together for them is amazing. Great tutorial too – TFS.