
New Products Coming Soon…
Good morning Pretty Pink Posh friends!
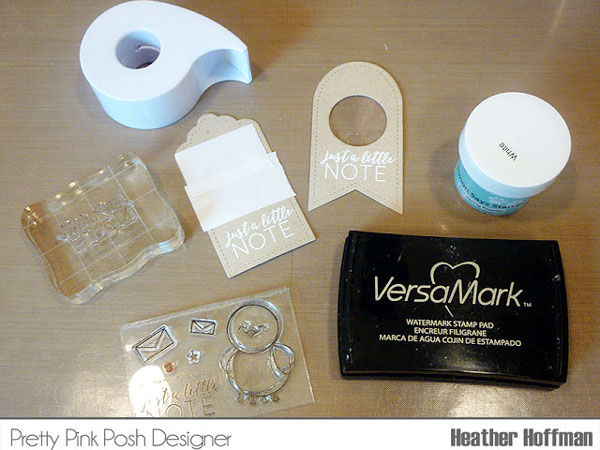
Heather here to share a couple cards I made using some of the BRAND NEW goodies that are releasing May 1st! So exciting, right?!?!? I’m also sharing a tutorial for these cards with a mini shaker tag!
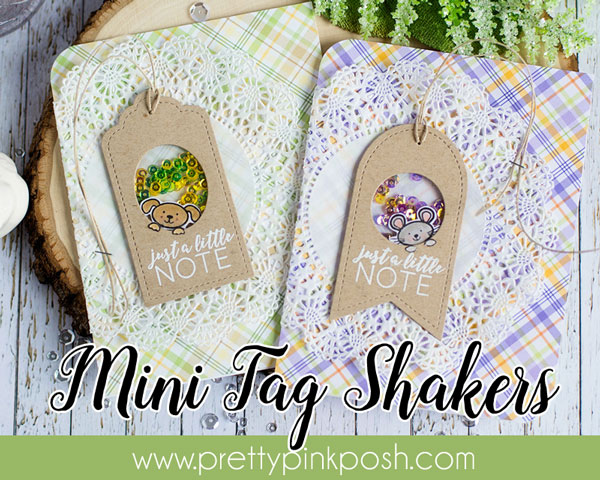
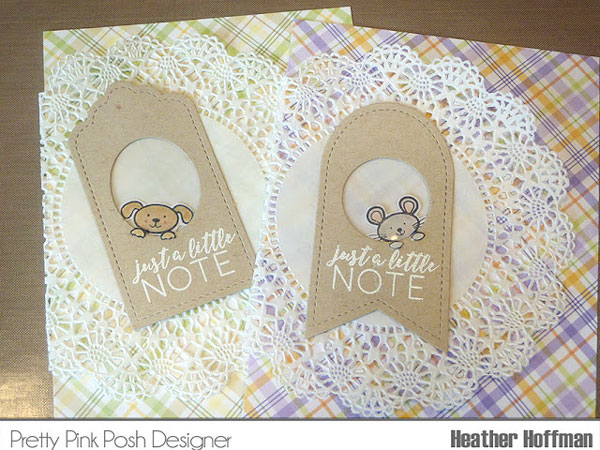
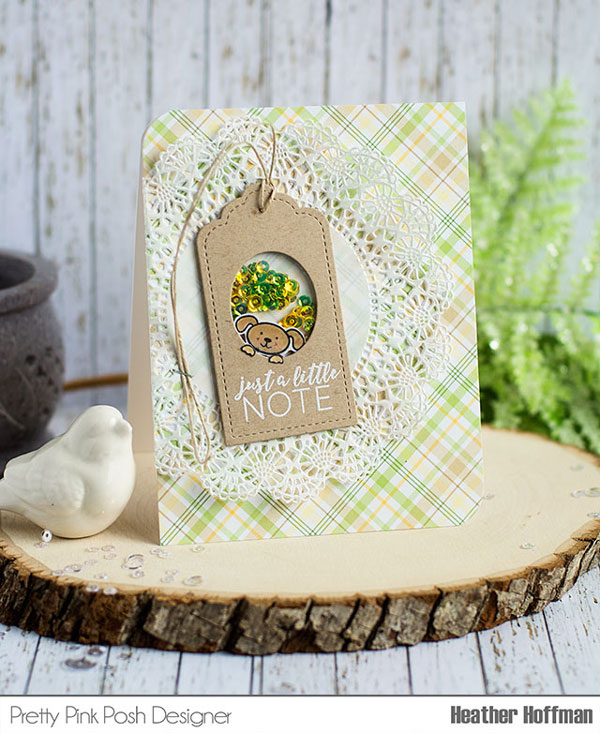
A sweet friend recently gifted me with these adorable plaid papers (she obviously knows me well!!!) – so I had to pull them out to use on these cards! Those new tag dies are part of the new release – as are those lovely sequins – 4mm sizes of the popular Iridescent sequins! Squeal! So cute!!!
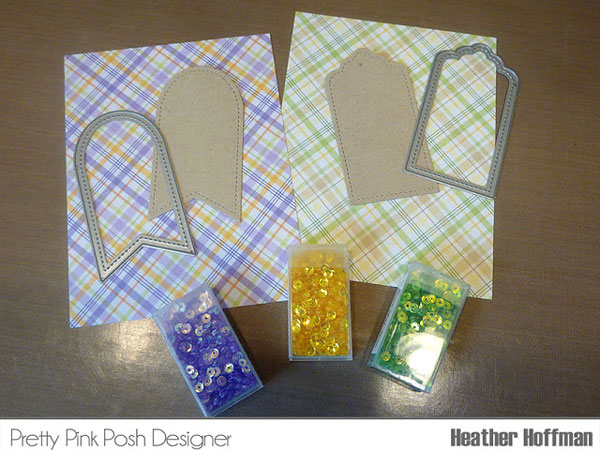
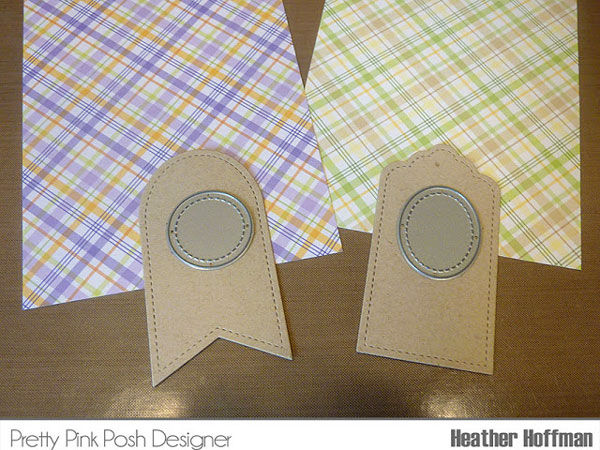
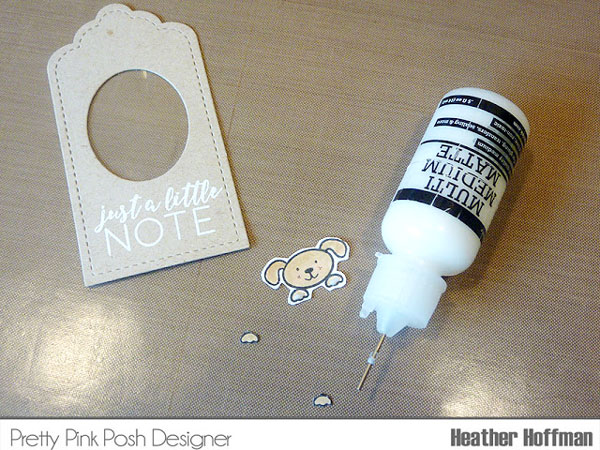
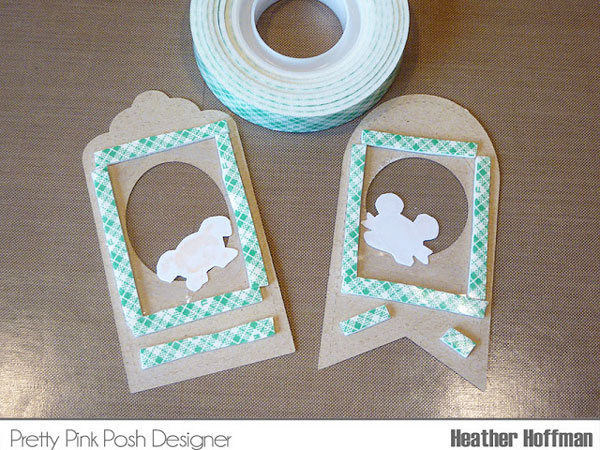
These tag dies come with smaller size dies that fit perfectly inside, or can be used separately – I used a couple of them to create the windows in my tags for the shaker element.
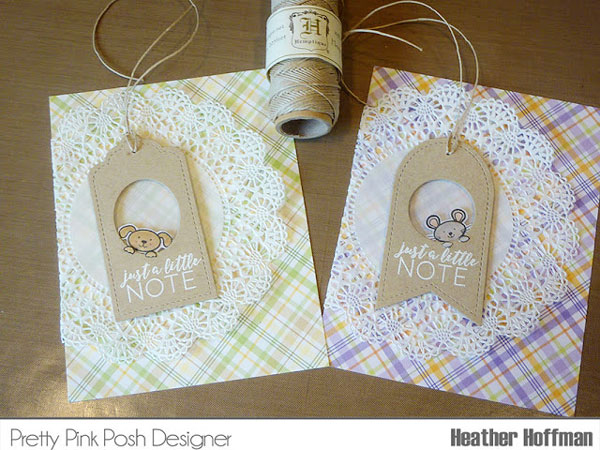
I also love using doilies on my cards – these are some that I purchased off of Etsy – they are 5 inch rounds – so I fold them around the front of my pattern paper to help them fit my card size better without having to trim anything off.

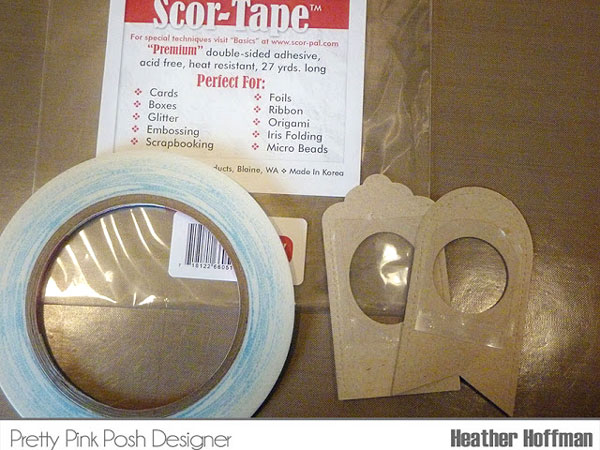
Next, I used some sturdy adhesive to attach acetate to my little windows.
I *should* have stamped and heat embossed my sentiments before adding the acetate – but since this was acetate that was safe to heat emboss on (and therefore wouldn’t melt with the heat gun) I went ahead and did it now using the adorable Birdie Notes stamp set. I DID learn that embossing powder heads right toward the acetate like a MAGNET and is HARD to get off! So on the second one, to save frustration, I placed some Post-it tape over the acetate while embossing, then was able to easily remove it.
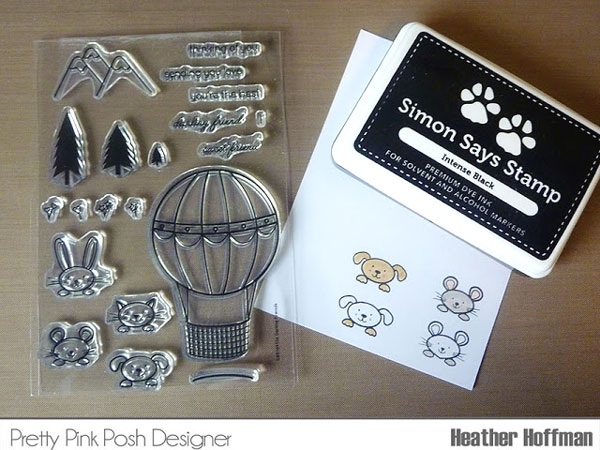
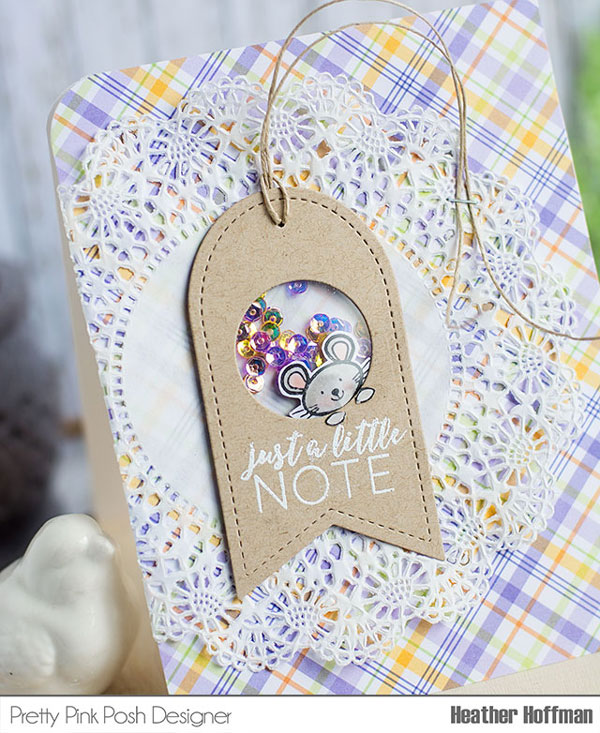
I fussy cut them out, then added a *tiny* dot of glue to the front bottom of the critters, and attached them BEHIND the acetate window. Added tiny dots of glue to the front feet, and attached them on the FRONT of the tag.
Do you see them here? How it looks like they are actually peeking through the window?
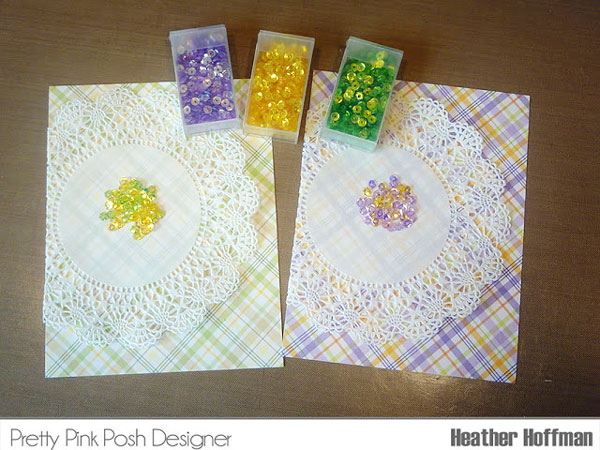
Add some trimmed down strips of foam tape to the back to hold the shaker portion of the sequins.
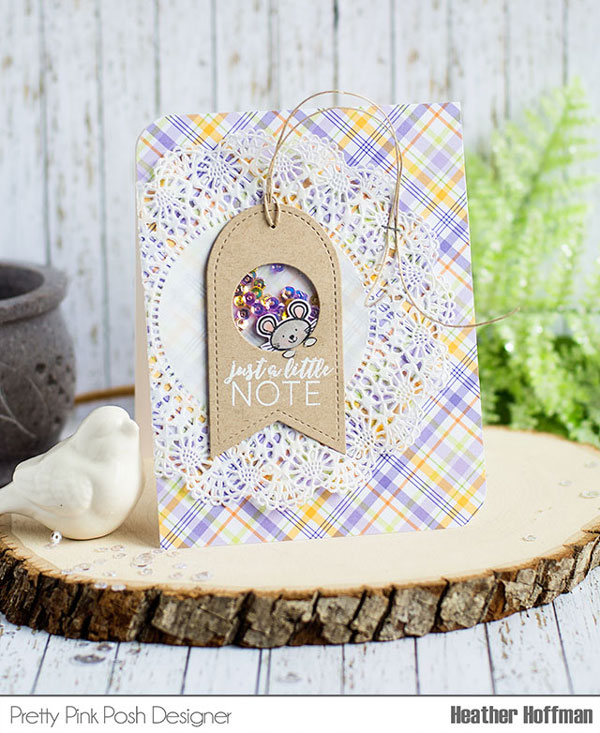
And then for the sparkly goodness – I mixed two colors of the new 4mm Iridescent sequins on each card, coordinating them with my pattern paper, then adhered my tags by the foam adhesive over the top.
I love the feel of the free strings on the tags, but it drives me nuts when they don’t stay where I want! So I arranged them in a pretty sweeping patter, then added a tiny staple to one spot to hold them in place.
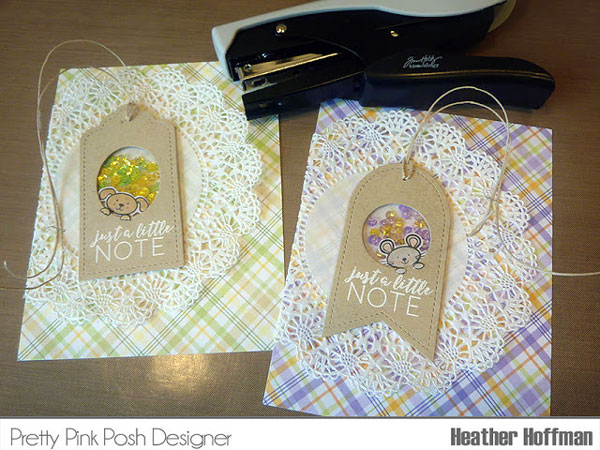
Finished off by attaching the entire front panel to my card base, then rounding off a couple corners.
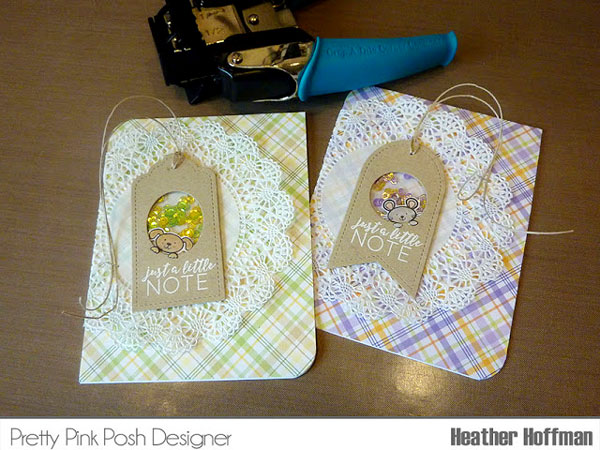
Here are the finished cards:
And a closer peek at the tiny shaker!

The other color:
And a closer look at this one too!

Thanks so much for stopping by today! Have a wonderful day!!!
Heather your shaker tag cards with plaid are absoultly adorable! Great tutorial and pictures ! Thanks!
These look amazing!
Heather!
Love how you have the little critters hanging over side!
So Cute!
Really like that tags have stitching and separate shaker dies
They look Great!
These are super cute! Love them! I like how you used the doilies – I definitely don’t use mine often enough!
Such a sweet card.
Adorable! Can’t wait to get my hands on one of them!
Oh I LOVE these!!! The design and the colors *swoon*.
These are absolutely adorable cards! Great colors and love the little critters peeking out :)
These are sooo CUTE!!
Wow! Very very cute projects!!!
These are the cutest! I love the peeking mouse and dog and the sequins are wonderful! TFS!
So pretty…love these new tags.
Oh Heather, these cards are beautiful. I LOVE the plaids you’ve used and the gorgeous sequins match perfectly. I love making tags but don’t have tag dies as yet. These are really nice.
These cards are adorable, I think it is the pretty plaid that sets them off so nicely! Thanks for the step by step construction!1
Love the size if the shaker tags. Great addition using the small animals on the side.
Welcome new design team members, I’m excited to see all the lovely goodness you are going to create.