
Tutorial: Mini Star Shakers
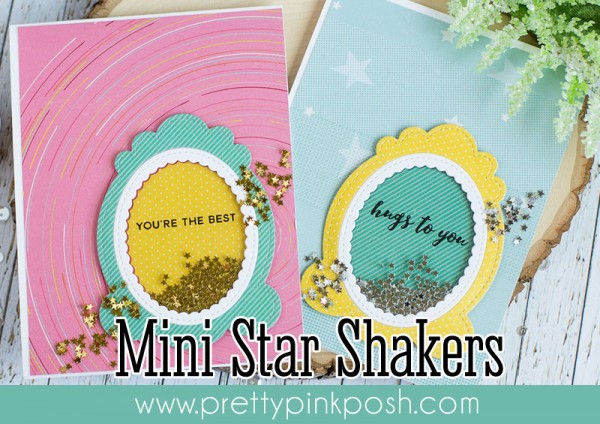
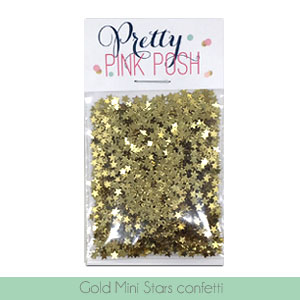
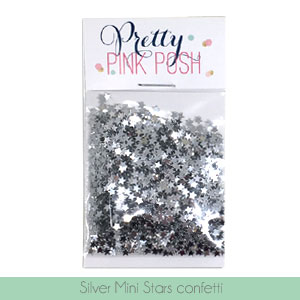
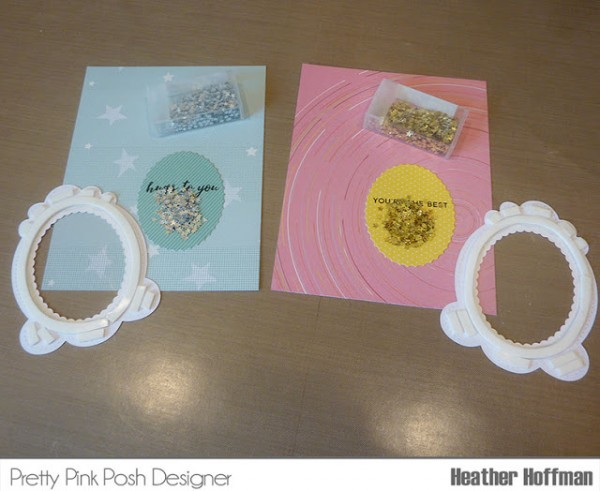
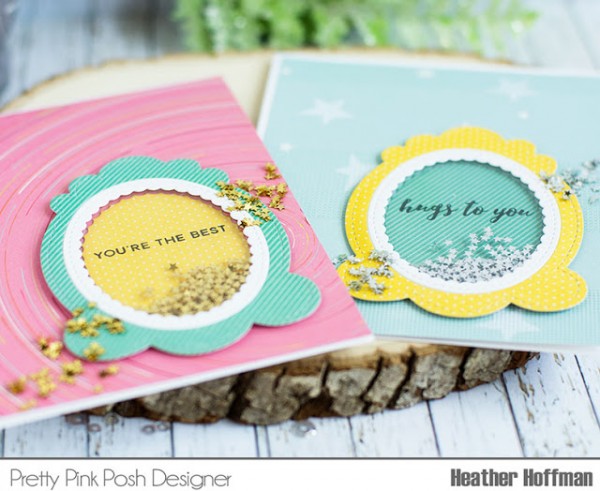
Good morning Pretty Pink Posh friends! Heather here to share a couple of fun cards – something fun that I recently tried on a whim – sort of an optical illusion that makes it look like the shaker cards are overflowing with gold and silver Mini Star Confetti!
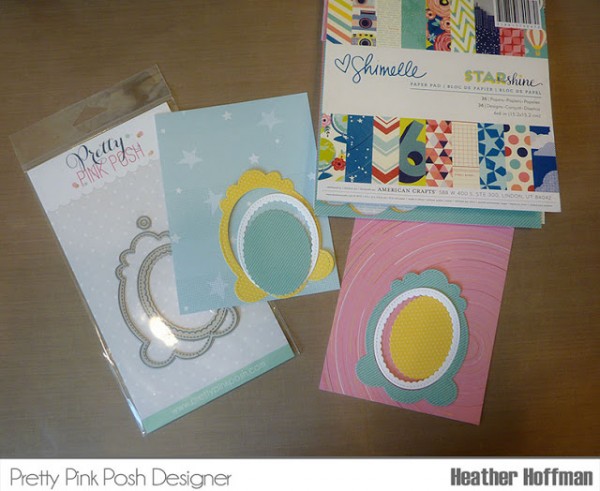
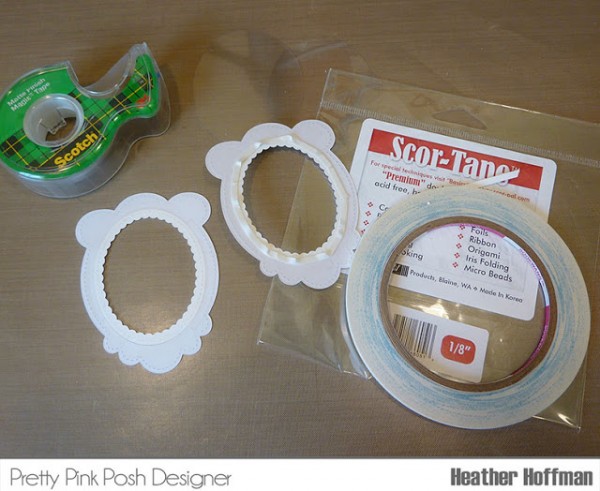
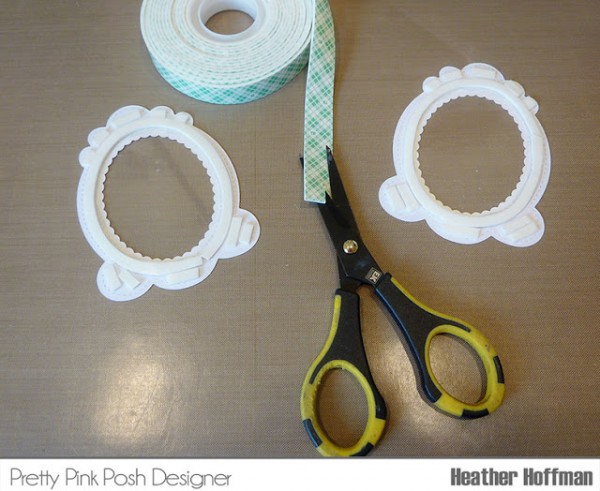
I used some simple Scotch single sided tape to tape the white scallop to the outer frame from the back, then some sturdy Score Tape to attach the acetate for the shaker window.
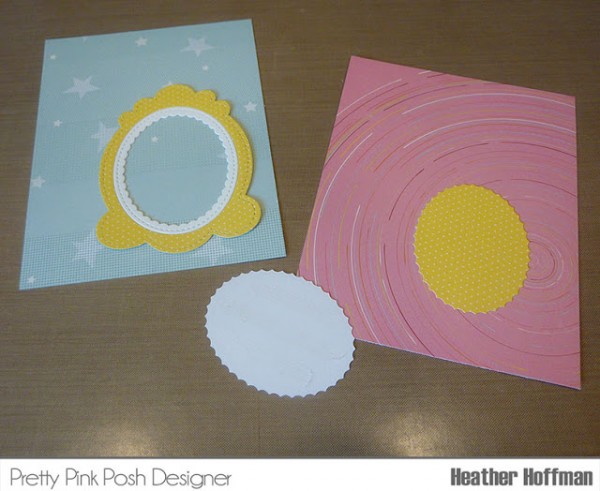
Before attaching the acetate, I used the outer portion to position and center the inner part by applying adhesive tape, setting the outer frame where I wanted it placed, then fitting the center oval in place…
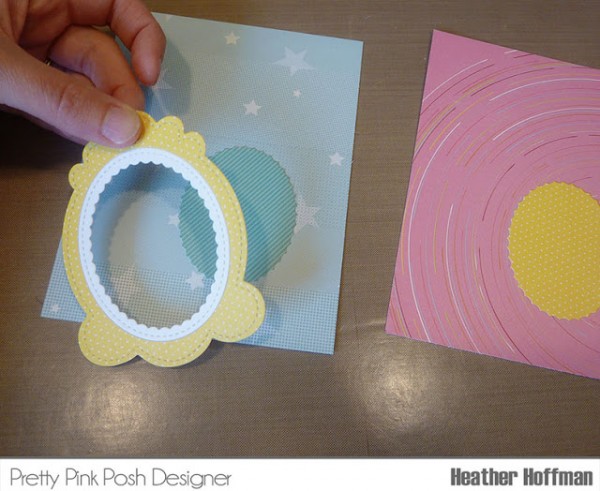
…then lifting the outer frame to be able to add the acetate and foam for the shaker.
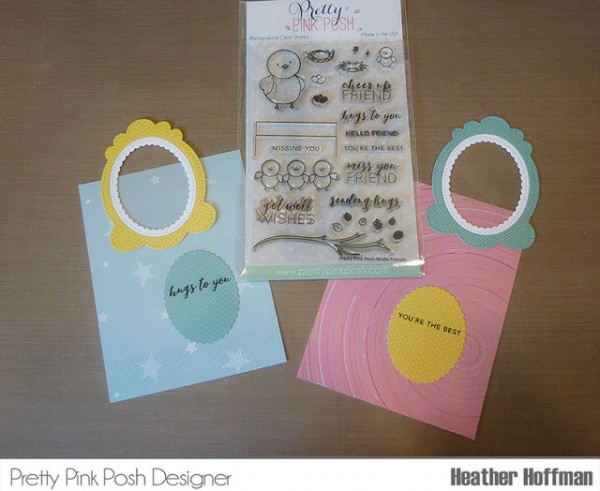
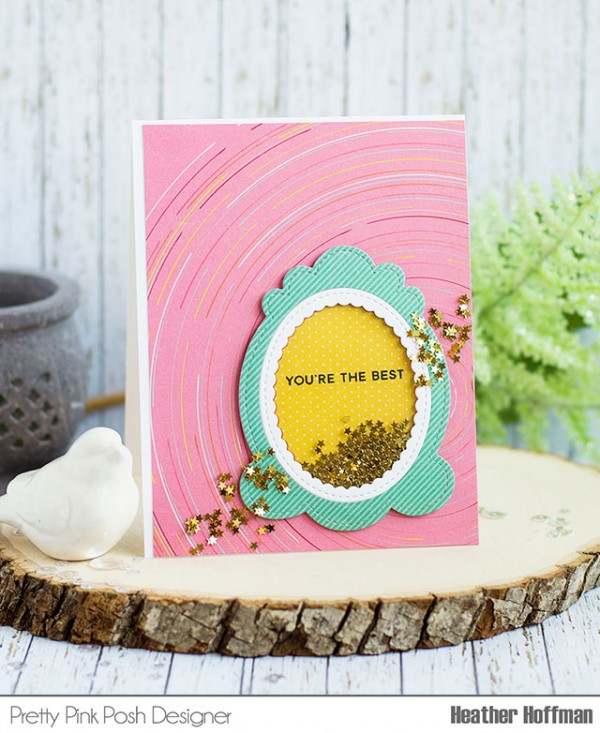
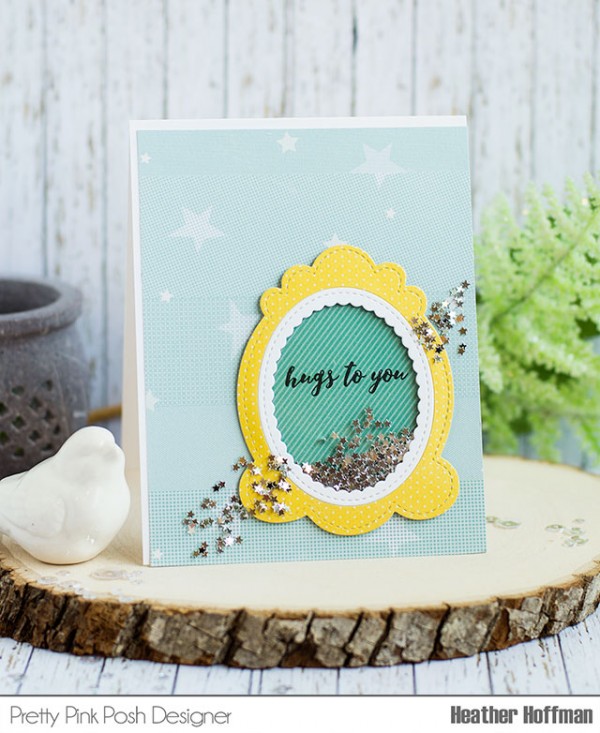
I added a cute sentiment to each one using Birdie Friends Stamp Set – I actually mixed these up, and was going to stamp the sentiments in reverse! Didn’t notice until it was too late! :)
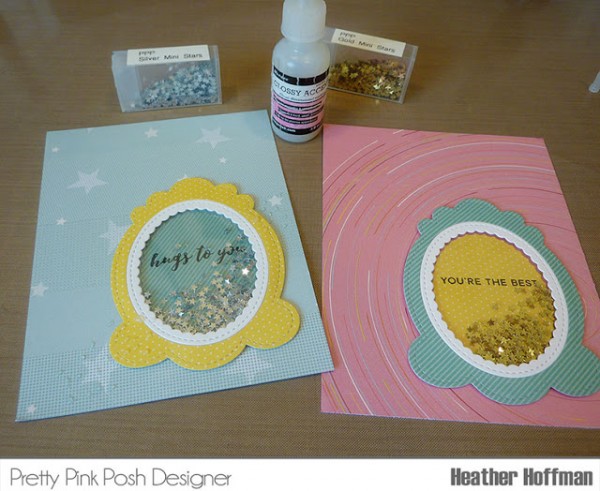
Here is a side view of them – isn’t it a fun effect?
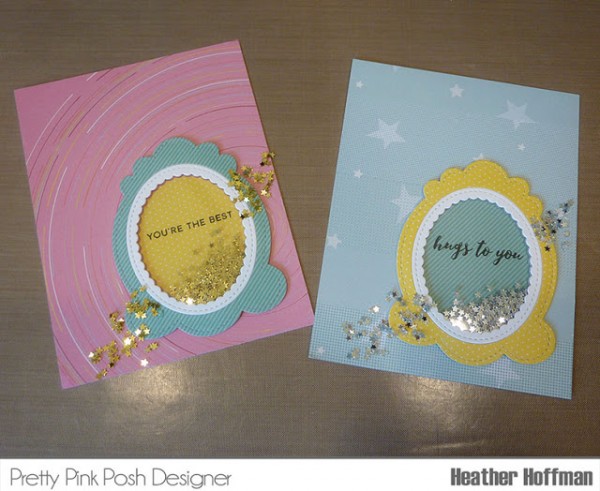
And finally, a close up of each one on it’s own.
- Glossy Accents Mini: Amazon // Ellen Hutson // Simon Says Stamp
- Scor-Tape: Amazon // Simon Says Stamp
- Foam Tape (extra large roll): Amazon // Ellen Hutson // Simon Says Stamp
I love the effect this gives – shakers are such happy cards anyway – and this feels like it just couldn’t hold in all the happy!
Thanks so much for stopping by today – hope your day is overflowing with happy too!!!
Beautiful shaker cards, love the overflow look and the star sequins are gorgeous!
Such sweet cards!
Your cards are fantastic Heather, love the design.
A;ways love a shaker card they are really cute.
Always love a shaker card these are really cute. Love the tiny stars.