Layered Fall Card + Video
Hello, Pretty Pink Posh fans! This is Yana and I have a video tutorial to share today showing you how to create one of my favorite type of cards – layered & dimensional!
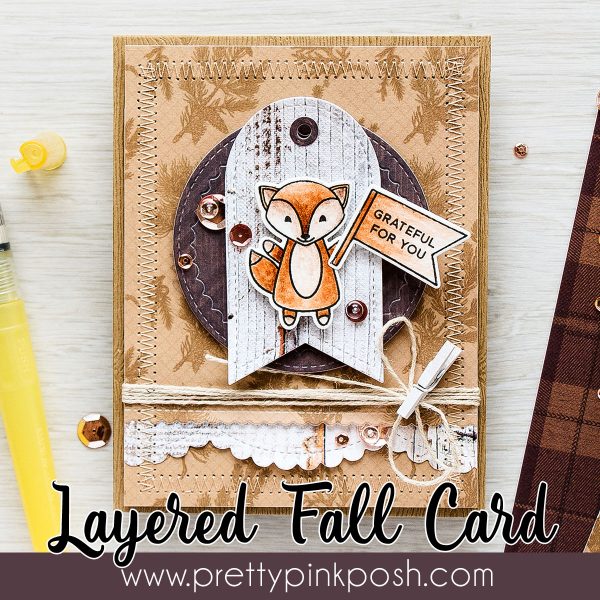
My “secret ingredient” for these kind of projects is the use of special patterned paper and also stitching and I talk about both of these in detail on my video.
Often when I start working on cards that involve a lot of layers I like to build my future card design on my desk by using dies and stamps themselves, I find this to be very helpful especially when I want to visualize my card design and check if the size and shape of the dies I selected work well together.
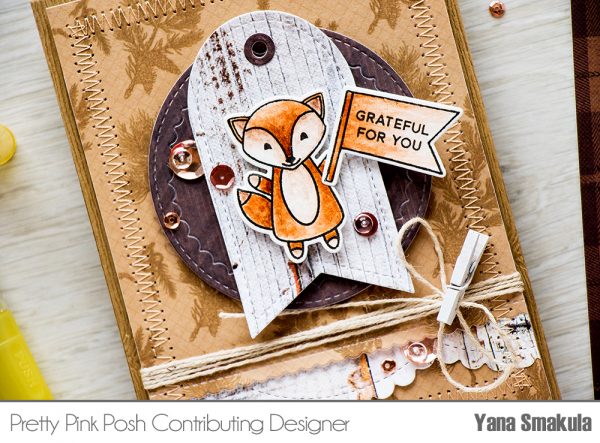
From there I move onto picking out the right patterned paper. I have a favorite brand that I love to use whenever I use dies. The brand is called Trimcraft First Edition and they are from UK, but their papers are available on Amazon. The reason I adore them is for their “special effects” as I like to call them, their papers often have special coatings and finishes are are fantastic for such projects.
If you don’t have this type of paper you can always use other patterned paper or even stamp your own using paper design using stamps.
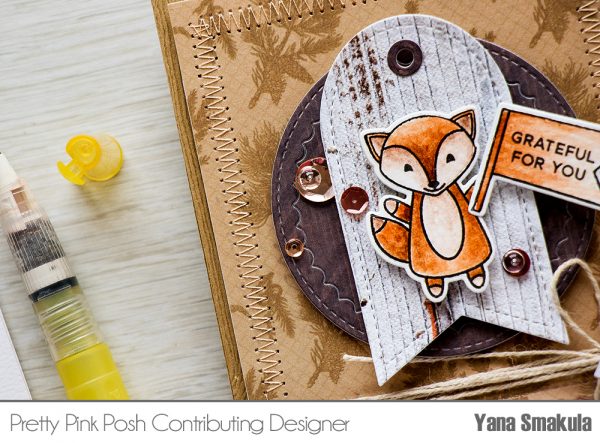
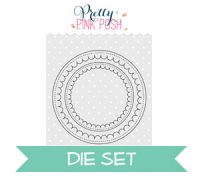
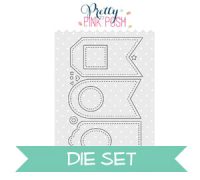
To create this card I selected several die sets including Scallop Borders Dies, Scallop Circles Dies and Stitched Essentials 1 Dies.
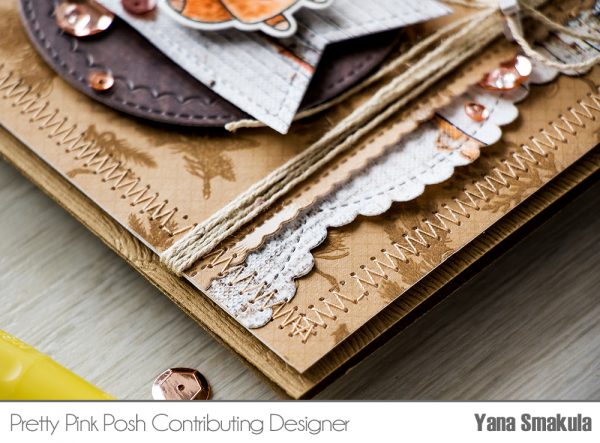
Each layer was cut out of patterned paper, the background layer pieces were all adhered together so that I could add machine zig zag stitching around the edges. I love adding stitching to my cards as it adds a lot to the handmade look and feel of my projects.
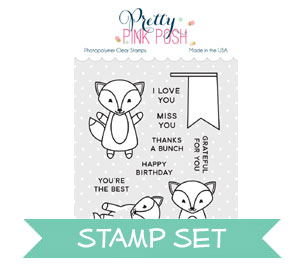
The scalloped circle layer and also the tag were both foam mounted for a pop of dimension and so was the little watercolored Fox Friend.
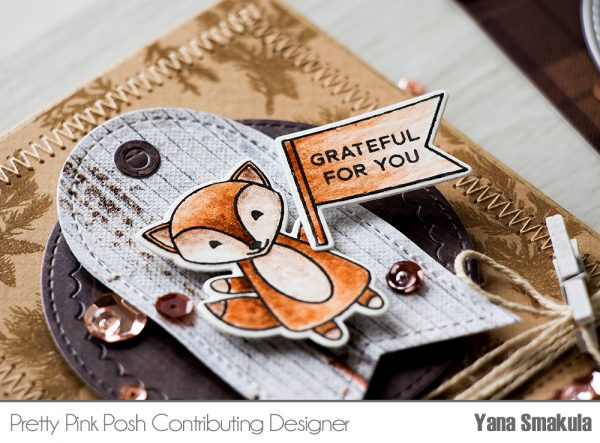
To embellish this card I used Metallic Rose Gold sequins in 4 mm and 10 mm sized and brown sequins from the 6mm Wildflower sequin mix, along with some 4mm Clear Droplets.
Happy cardmaking!

What an adorable card. I like the stitching with all the other shapes and elements!
Sooooo CUTE.
Sweet card! Love the textures!
Wow, wow, wow! This is so stunning. Gorgeous
coloring on that sweet fox. And the dimension
is superb.
Awesome card. I like the idea of laying out your dies in the design you’re looking for and then you don’t waste so much paper. Awesome look and darling image. Thanks for the video.
Awesome and such great colors for fall
What a fun card, especially since you used so many textures, including the machine stitching. What I caught a glimpse of, but I don’t think you mentioned is the super-duper tip of using your closed tweezers to secure the knot while you made a bow…brilliantly simple way to add an extra hand!! I always learn something in your videos that are well-planned and executed. Thank you so much :)
Such a beautiful fall card!