
Sneak Peek: Everyday Greetings
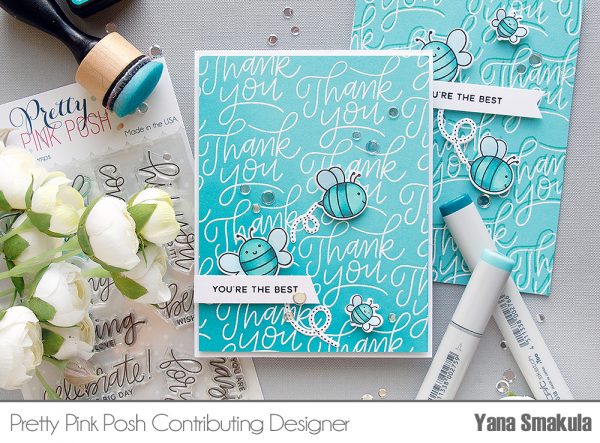 Hello, Pretty Pink Posh fans! This is Yana and I today I’m excited to share a card using one of newest stamp sets- Everyday Greetings (releases on March 1st)!
We often look at sentiments as a last piece or a last step when we create a project and we forget that sentiments can be used in a variety of ways.
I used a large thank you message for my cards today, but many other sentiments from the Everyday Greetings set or other sets can be used for this technique.
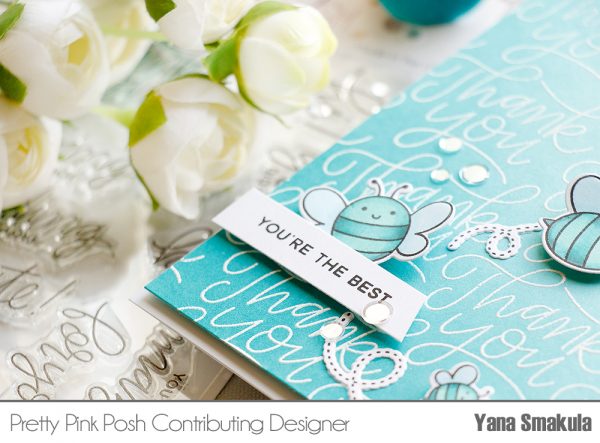
I started working on this card by stamping a sentiment repeatedly in clear embossing ink onto a teal cardstock panel. I stamped each sentiment somewhat at an angle trying to create one continuous pattern. As soon as my stamping was done I added white embossing powder and heat set it with my heat tool.

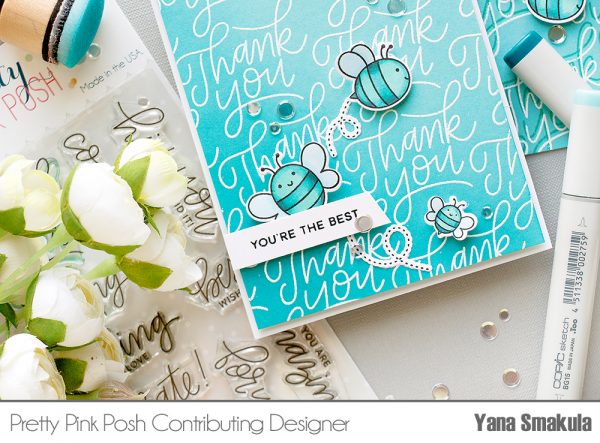
I ink blended bottom left corner of my panel to make it slightly darker. Peacock Feathers distress ink was used as it best matched in color to my cardstock panel. I knew I will be adding a few additional elements to that corner, so I needed to make it slightly different from the rest of the card to help elements pop.
Even though I stamped Thank You repeatedly in the background I still wanted to add additional sentiment to my card. I used You’re The Best from the Birdie Friends set and stamped it in Black ink onto a strip of white cardstock.
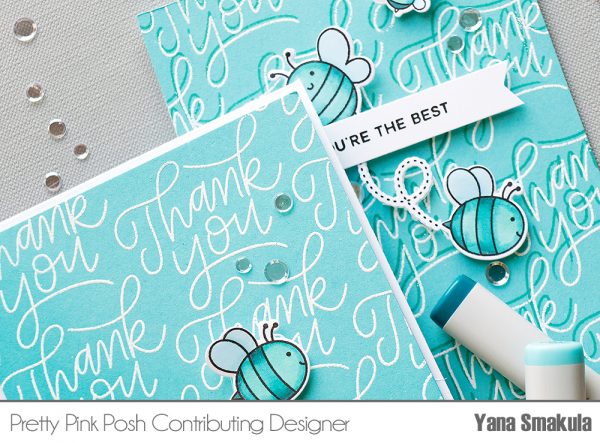
I am enjoying using critters on my projects lately, so I wanted to add a few fun bees onto this card. I used several images from the new Bee Friends stamp set that comes as a gift with a qualifying purchase in March (and will also be available for purchase in May).
I used Copic markers and did simple coloring (B00 and B000 to color the wings; BG18, BG15 and BG32 to color bodies of my bees). The Bee Friends stamp set also has a set of coordinating dies, again you can get it as a gift with a qualifying purchase or buy it later this year in May. I used these to cut my images out.

I trimmed my background panel down to 4 x 5 1/4 inches and foam mounted onto an A2 top folding card base. Next I foam mounted my little critters on top. Lastly, I embellished the card using the Sparkling Clear Confetti Mix.
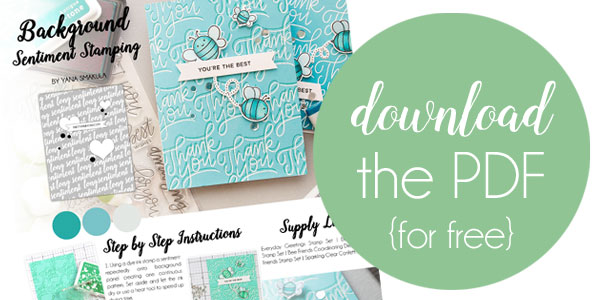
Be sure to watch my video tutorial below to learn how to make this card and see another bonus idea at the end of the video.

Happy cardmaking! Be sure to join us tomorrow for another day of sneak peeks.
Let be these!!
I love honey bees!!!! I want this set
What a pretty card, and those bees are just adorable!
Where did u find the flat sequins? I love them!
Thanks for showing us that technique, love both of your cards!
Such cute cards! I like the embossing on both of them, the shadow effect looks nice.
Wow what an amazing idea and effect to stamp with these wonderful sentiment stamps. It looks so beautiful.♥ Thanks for sharing us your inspiration.♥
Hugs and greetings
Angela
Paulina, As usual your products are amazing!
Yana, I recently started following you more and your card designs are out of this world!!
I love honey bees!!! I want this set! :)
A beautiful colour combo Yana and love the tips. A fantastic stamp set too!
Awesome card and stamps sets.
Very cute!!! I know what I want 😉
Pretty!!!!!!!!!!!
What a beautiful card!! I love that colour!! Using a sentiment to create a background like that is such a great idea!! Love when you can stretch your supplies. This will be one idea to keep in mind
Beautiful card! Love the colour! Using a sentiment to create a background like that is such a great idea and I love when you can stretch your supplies. I’ll have to keep this in mind!
Wonderful video and great cards…..
The bees are sweet and love the great background!
Love your Bee card. When I first saw it I thought of ‘THE BEE MOVIE’. The Thank You background works perfectly for both cards. The blue bees are beautifully blue :)
Yana you make something quite simple look to lovely. Thanks for the tips on using sentiment stamps for backgrounds.
WOW!! Love this! The background is just darling!! Love the turquoise! Such a beautiful card!