
Creating with Nuvo Mousse + Video
Hi everyone, Eloise here and today I’m going to be using the Bold Blooms and Thoughtful Greetings stamp sets along with Nuvo Mousses to do a fun background along with some water colouring.
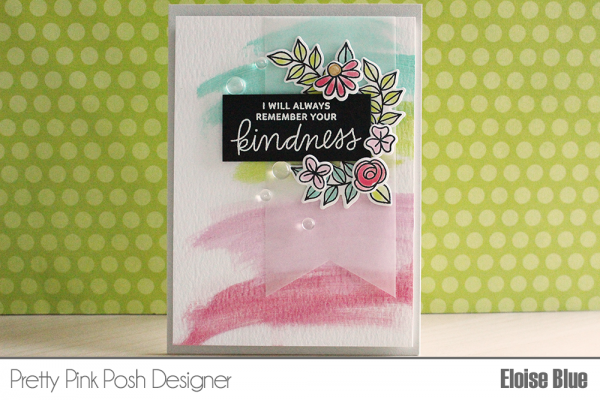
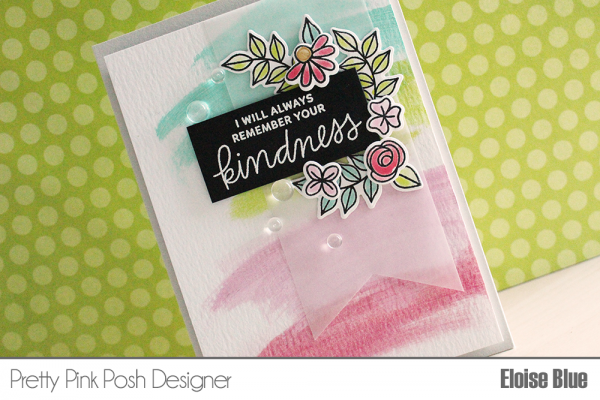
To begin my card today I first decided to do my background. I took four colours of my Nuvo Mousses – Aquamarine, Peony Pink, Pink Flambe and Citrus Green and then some sponges. I just used the foam ink blender sponges, but make-up sponges or anything like that would work. I dipped in my sponge into the mousse and then spread it across the top of my cardstock panel. I then repeated the steps with the other three colours to create my swiped coloured background. A little bit of a different background for me, but I love the swiped painted look it gives and these mousses have the best shimmer to them!
Next up I stamped out my images from the Bold Blooms stamp set onto some more watercolour cardstock. I used Versafine Onyx Black Ink and then clear heat embossed the images so it would be easier to watercolour them. To mix up my paint, I used a palette knife to take out a little colour out of each of the jars, popped it into a palette and sprayed the colour with water and mixed it around with a paint brush. This mixed up the colour nicely and it keeps that shimmer which is amazing.
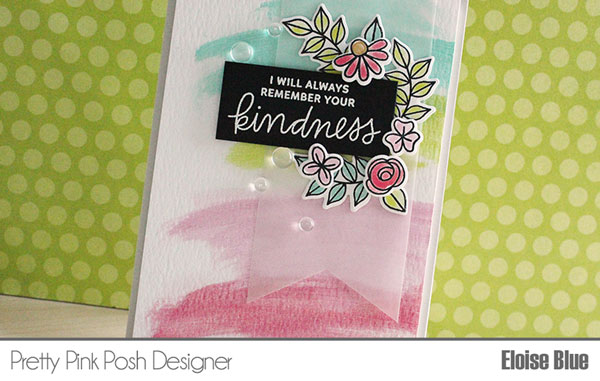
I water coloured in my images like normal with each of the colours of mousse. I also pulled the Antique Gold colour to colour in the centre of the flowers. I loved water-colouring with these as it was so super easy, they moved just like regular watercolours and really the only thing you don’t get is the shading but, like I mentioned before – the shimmer is amazing, so it makes up for it! It’s like using metallic watercolours. I could have done that, but I like getting many uses out of my products. Once all my images were coloured and dried I die cut them out using the coordinating dies.
Next up I white heat embossed a sentiment from the Thoughtful Greetings stamp set onto some black cardstock and trimmed it out into a rectangle. I also used the Scallop Hexagon Dies to cut a banner edge into a piece of vellum. I first adhered down the sentiment strip onto the banner, overhanging the edge a little and then arranged my flowers around it, popping some of them up and leaving some flat. I then adhered my banner down to the coloured panel I created earlier.
Thanks so much for stopping by today and I hope you got inspired.
Beautiful card, Eloise. Love the colours and the design. The vellum was a great idea as not to cover up that gorgeous background. I may have to try out this mousse. 😂
Very pretty
Beautiful stunning card. Love the idea of coloring with the Nuvo paste. (to keep it from drying out you can take a wet wipe and keeping it folded cut to fit into top of paste. It really helps so your paste doesn’t dry out)
Hi Eloise and Paulina ~ I love what you’ve done with this card (thanks for including such an awesome video as well!!) and, quite frankly, I had NO idea I could watercolor with the Nuvo Mousse. Not only is your card beautiful, but the swiping/watercoloring is just plain old fun. Thanks so much for sharing and giving me another use for my mousse. ~HUGS~
#kindnessmatters
Beautiful! I love the swiped background look!!
So pretty!
I love this card! The colors are fabulous. and your ideas are awesome. Thank you so much for the video showing how you made your beautiful card!!