
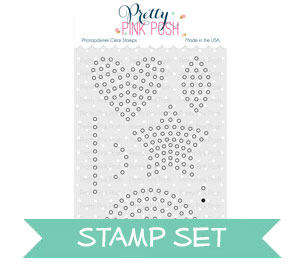
Tutorial: Sparkle Dot Patterns 1
Hello Pretty Pink Posh fans! This is Yana and today I am sharing a video tutorial showing how to use the Sparkle Dot Patterns 1 stamp set (the 2nd set is releasing in March!).
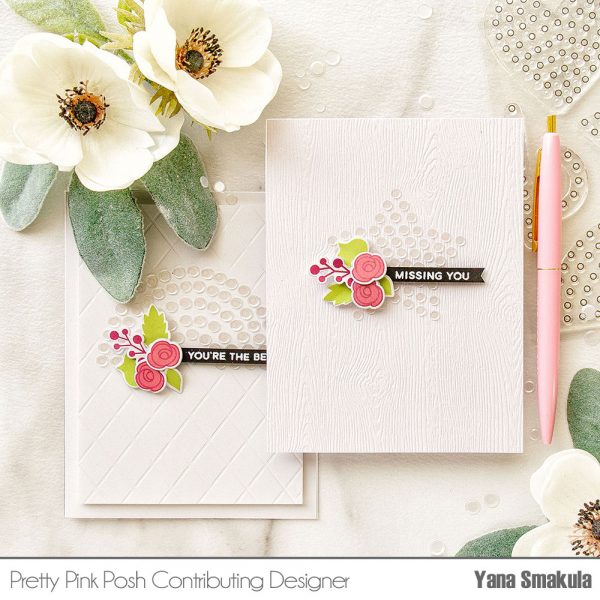
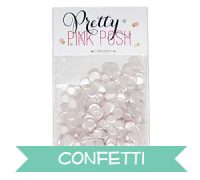
This is a very clever stamp set that has been designed to help you align and evenly space any tiny embellishments on your cards. Each little circle dot represents a space for a sequin, or confetti piece, or little enamel dot, or jewel (we have these coming in our next release!). If you’ve ever tried to arrange tiny embellishment to form some sort of a pattern you know that it never works and the object, or shape, or pattern ends up looking wonky.
So you are probably wondering how does this stamp set work? Let me show you. I used a panel of white woodgrain cardstock for my cards today (and also a plain white panel), I love to use this paper for clean and simple projects that feature a lot of white space. Normally, I never stamp on this paper, because of it’s texture, as you’ll never be able to get a good enough impression, but since I didn’t really need a good impression, these stamps need to be used as a guide only I was safe using this paper and stamping on it.
Watch my video tutorial below to learn how I made this card.
It’s best to use a light color of ink for your stamping so that the stamping will remain invisible under your embellishments. I used a very light gray ink. If you stamp onto colored cardstock you can use a watermark ink for a barely visible impression. It’s best not to use black as it might be visible even under the darkest color sequins and it will surely show through white.
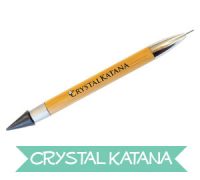
Another must have tool for this technique is a pick up tool. I used a Crystal Katana tool– I always use it when I work with tiny embellishments, it really is a must have as it’s not that easy to pick up little piece with your fingers and position them properly on the project. There are other tools similar to this one, so you don’t have to use this exact tool, but just any tool that will help you pick up the pieces and place them exactly where you need them.
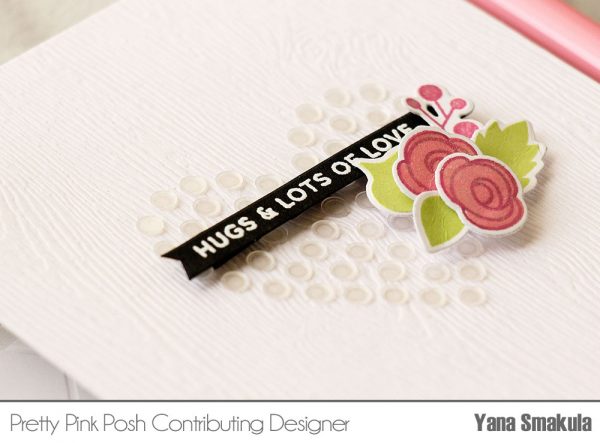
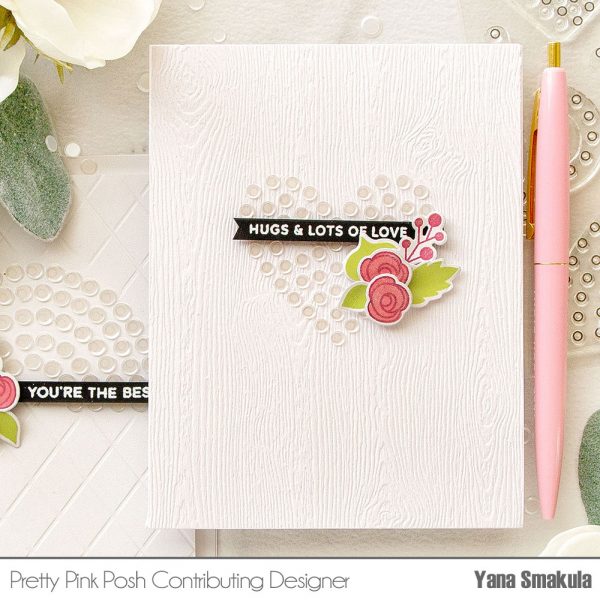
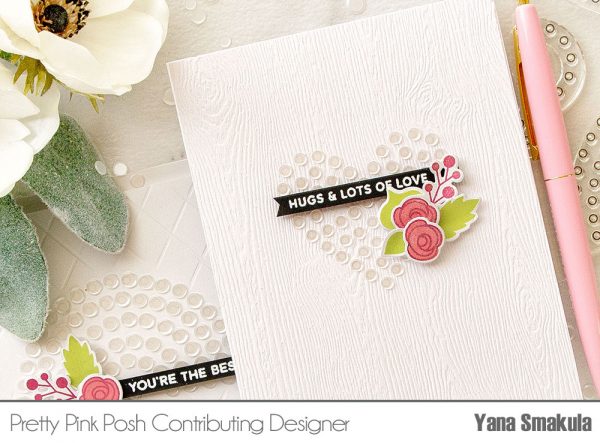
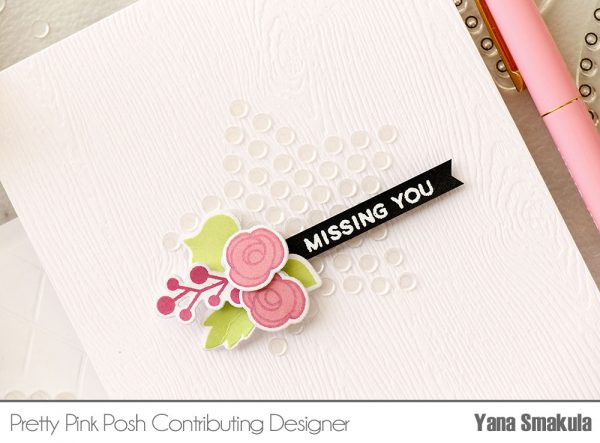
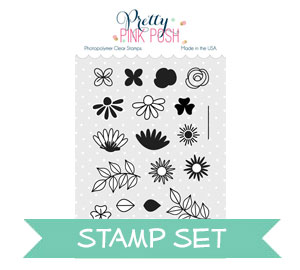
After adhering my confetti in place I set my panel aside to dry for a few minutes and worked on a sentiment as well as a floral cluster. I stamped flowers and leaves using images from the Autumn Blooms and Bold Blooms stamp sets and grouped them together into a tiny floral arrangement.
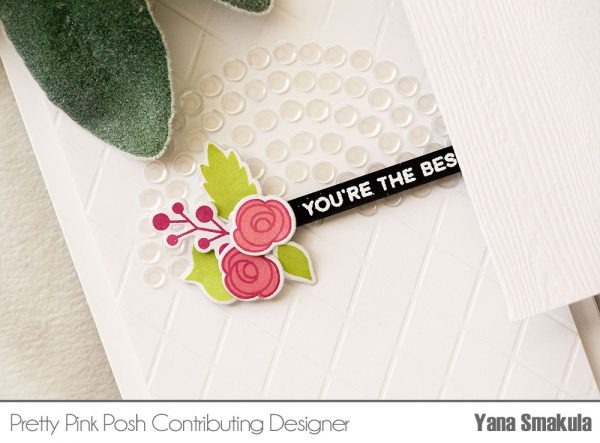
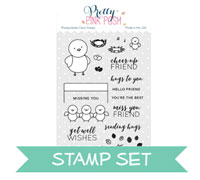
I also white heat embossed sentiments onto black cardstock using messages from the Birdie Friends and Winter Woodland stamp set and foam mounted onto the card.
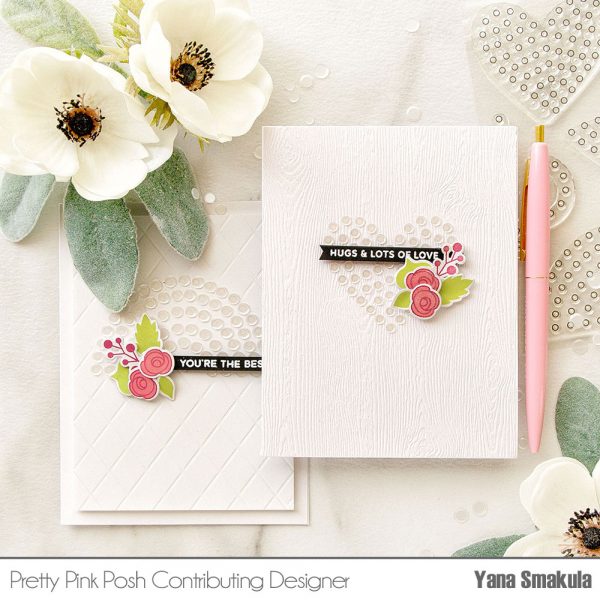
I had tons of fun making these Clean & Simple projects and I love how easy it was to create fun shapes using my sequins with the help of this stamp set. I definitely see myself using it over and over again for all sorts of cards!
These are so pretty!! Love the soft look and all that texture!
That set is brilliant!! Definitely a must have for any crafters toolbox. Beautiful cards today, Yana. I especially liked your tip on the small floral embellishments – another great idea that I will try next time I’m fiddling around with tiny elements.
Really lovely. I can see how these stamps would give you perfect placement. Nicely done.
What a great idea for a stamp set. A must have! Love your cards, now I need to get that stamp set. So inspiring, wish I owned it already.
Fabulous!!!!!!
I really love your idea of clear confettis on white paper, your cards are very elegant ! Thank you for sharing.
These are all truly beautiful cards Yana. What an ingenious stamp set! Good job to Paulina for bringing this creative set to her product line, I love it.
This is great!!! And just when you think no one can come with another original idea!!!
I LOVE it!!!!
Watched the video twice! Wonderful! I have all these products, and now I’m going to go and make these cards 😊❤️🌺