
Fly A Kite Scene + Sale
Good morning! Heather here this morning to share another Something Old, Something New card with you – the idea is to mix together both older and newer Pretty Pink Posh products – and to show you how AMAZINGLY well all of Pretty Pink Posh’s products work together!

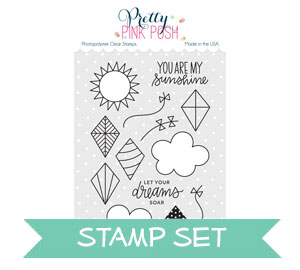
Today’s card is a bright and happy watercolor spring scene featuring the Fly A Kite set, which is 25% off the next 3 days!

Lots of fun layers and colors – not to mention a good sprinkle of some of the fabulous jewels!

So to start off, I did some loose and messy watercoloring to create a background – nothing terribly fancy – just blue for the sky, and green for some grass or greenery at the bottom.

While that dried, I die cut a fence from white cardstock using the Picket Fence Die.

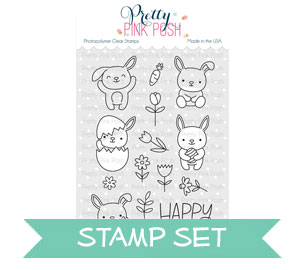
Next, we need a little bunny to hold the kite, so I stamped, die cut, and colored with Copics a cute little bunny using Bunny Friends stamps and Bunny Friends coordinating dies.

Next, stamp, color, and die cut the kite, string, and clouds using Fly a Kite stamp set and coordinating Fly a Kite Dies!

I then arranged my stamped and die cut elements into a scene that I liked…

…then used Jennifer McGuire’s trick of applying Press and Seal over the top to pick up the whole thing and…

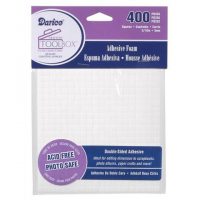
…turn it over to apply adhesive! I added liquid glue to the fence, then used Double Sided Foam Squares and Double Sided Foam Sticky Strips for the bunny and clouds.

Then, simply pick up again with the Press and Seal, place on the watercolor background, press in place, then peal off the Press and Seal. At this point I also needed to adhere the kite to the clouds, but that was easy peasy!

Finally, it felt like my scene just needed a little something more – so I stamped, colored, and die cut a bunch of the flowers using Bunny Friends stamps and Bunny Friends coordinating dies again. I didn’t end up using all the flowers on this project, but I wanted to make sure I had plenty – and those others are saved and will probably be used on something else down the road!

For extra dimension, I adhered the tops of the flowers and greenery with Double Sided Foam Squares, then used liquid adhesive to adhere the bottom of the stems to the background. This makes it feel as if the flowers are popping right out at you!

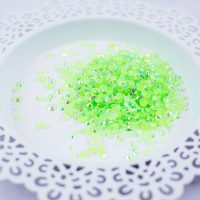
Finished off by adding several Spring Green Jewels and Aquamarine Jewels to the background for some sparkle.

I planned on stamping a sentiment, but left everything to dry, then forgot to add a sentiment before I finished photographing the card. I’m not sure if I will add a sentiment on here or not now – it’s kind of cute as it is, and it makes it super versatile since it could be given for any occasion. What do you think – would you add the sentiment, or leave it as is?


Thanks so much for stopping by today! Have a wonderful day!
Love this card and idea and I would not add a sentiment, looks cute like it is! Thanks for sharing!!
Heather, at this point, I would leave the sentiment off until the occasion arises and this darling card is needed. I wish I could watercolor like you and have it look so perfect. Everything on the card is delightful, and thank you for sharing the step-by-step.
What an adorable scene! Beautiful card!!
I agree no sentiment.. The front speaks volumes. I love the painted background and sweet images. I love this card.