
Tutorial: Striped Color Blocking
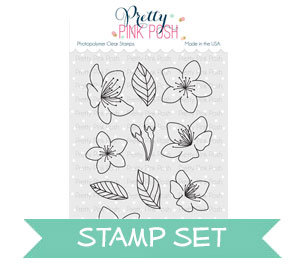
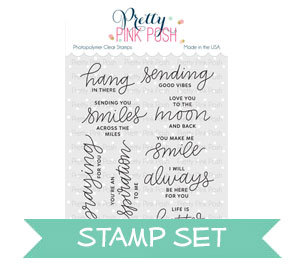
Hi everyone, Eloise here on the blog and YouTube channel today with an encouragement card using the Cherry Blossoms and Encouraging Greetings stamp sets. I’ll be doing a sort of colour blocking technique I guess, basically I’m blending on stripes of colours, and white heat embossing my images over top of the coordinating colours needed. I don’t have a good technique name, but that’s the gist what I did.
To begin my card today, I started off with a piece of watercolour cardstock, added some tape to the back of it to hold it down onto a craft sheet and then used post it tape to mask off diagonal lines. First tip is to use post it tape, or another low tack tape. I literally went through 8 pieces of cardstock from using the wrong tape and in the end decided to just use post it tape, because that’s what worked the best. So I masked off stripes all over my background and ink blended different colour Distress Oxide inks inside each strip. Since I was using Cherry Blossoms, I basically wanted them to be pink. Generally, I would want them to be lighter, because Cherry Blossoms are a lighter pink, but I didn’t have any lighter Oxide Inks, so this is fine. I used Worn Lipstick, Picked Raspberry and Abandoned Coral for the pinks and then Twisted Citron and Lucky Clover for the green areas. Once all my stripes were ink blended, I flicked on some water to create a water splotch effect, dried it off with my heat tool and then I could stamp my images.

Once my background was dried, I used my powder tool to coat my background, so that any powder didn’t stick to places I didn’t want it too. Then, I strategically stamped out my images over the coordinating colour stripes. I made sure to stamp out my flowers on the edge of the pink sections so that there was room for the leaves to be right next to each flower. Once they were all stamped, I used white heat embossing powder, poured it over top and then heat set all my images.
 For my sentiment, I decided to use the Encouraging Greetings stamp set and so I stamped the ‘You Got This’ sentiment on a strip of black cardstock and white heat embossed the sentiment. I then added foam tape to the back and adhered it on the right hand side of my card. I then added fun foam onto my panel, set it off to the side and worked on my card base.

I cut down a piece of teal cardstock at a diagonal to match my background and adhered it onto a white card base. I wanted there to be an additional colour as well as white on the card base to match my white embossing, so that’s my little way of incorporating two colours into my card base. It’s a fun design element as well. I then adhered my panel on top and used some new jewels in Watermelon, Pink Blush, Spring Green and Shamrock onto my card base as well.

Super cute card! Fabulous colors!
Beautiful work!!
Great idea. At first I thought they were paper strips.. Awesome that it’s another good use of Oxide inks. I like how you wanted to blossoms in the pink and leaves in the green. Great think ahead. Beautiful card.