
Wild Rose Card Set + Video

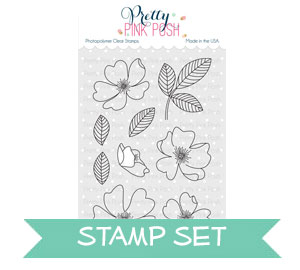
Hello friends, Eloise here and today I have two cards to share with you using the Wild Rose stamp set. I LOVE florals. They make for super classy cards for almost any occasion and I think everyone needs a good floral stamp set. This one is great as it contains so many images and you can create full clusters and bouquets. I’ll also be pairing in the Thank You Script word dies since I couldn’t help but use it also! These new products are amazing!
To begin my card today I wanted to try something new. I decided to pull out some Toned Tan and Toned Gray cardstock that I had in my stash from Strathmore and since it’s a mixed media paper, it can be used with watercolours. So I really wanted to try it out with my Zig Clean Color Real Brush Markers with it. I originally had purchased it to use with coloured pencils, but I didn’t have any yet so I thought watercolours would give an interesting look too. I first stamped three flowers and six leaves onto each colour of cardstock. Then I told heat embossed the images on tan paper with gold embossing powder and silver on the grey paper. I always prefer to have heat embossed images when I’m water colouring, it’s easier to contain it.

I coloured up my images the same way I colour on normal watercolour cardstock. I scribble some of my colour down where I want the darkest area to be and then with a water brush, I pull out the colour in stages into the rest of the area. This ensures a nice gradient between the colour so it looks perfectly blended. I repeated this process on all the petals and then on the leaves also and these markers blended so nicely on this paper, so super smooth and the colours blended out so well. I loved colouring with these markers on this paper I got great results and colouring on a different colour of cardstock gives it a really interesting look to it all. The colouring on the tan paper makes the colours appear more warm, and the colouring on the grey cardstock makes the colours appear more cool. Which is so interesting and gives a completely different look to these markers.

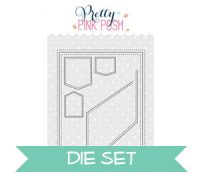
Once my colouring was completed I die cut the images out using coordinating dies. Next up, I used the Stitched Notes die set and cut into two pieces of white cardstock that measure 4″ wide by 5 1/2″ tall. This is because I want to use frame not the actual rectangle piece that it cuts. So when I lined up the die, I want it to be perfectly centered. So once I die cut those, I added foam tape onto the back and adhered them onto two card bases. For the inside of my cards, I die cut some green polka dot cardstock with the same rectangle die from Stitched Notes and adhered them flat into the card base. For my flowers and leaves, I arranged them onto the center of my card, picked them up with a little press n seal and adhered them down in stages. I used liquid adhesive for the leaves, then more foam tape for the flowers. I did this since I wanted these flowers to be placed perfectly, and once I got them places I didn’t want to loose where I had placed them.

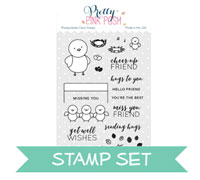
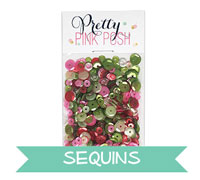
For my sentiment, I used the ‘Hello’ from Birdie Friends and white heat embossed it twice onto a strip of black cardstock. Then I used the Thank You die set and just cut the ‘you’ word six times out of white cardstock and adhered three each together. I then adhered both sentiments onto my cards. To finish up I used the Berry Bright Sequin Mix and scattered them around the flowers.

Beautiful card!! :)
Beautiful cards. I’ve never seen that paper, but it’s now on my wish list. Thanks so much for the inspiration.
These are beautiful. I will certainly be watching more of your videos. Thank you
Love your images and the beauty of the cards with them! Great layering of patterns and colors with these fabulous flowers!
Really Gorgeous card!!! Love this set!!!
Fabulous cards! thanks for the instructions
Beautiful stunning card. Love it.
Love the card. I knew that paper is worth investing on. I was eyeing it in our local art store but I got hesitant in purchasing them since I still have plenty of paper to play with. Thank you for the tutorial! I love your card.