
Tutorial: Watercolor Background + Sale

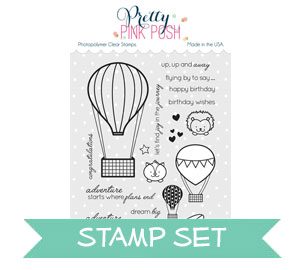
Good morning Pretty Pink Posh friends! Heather here this morning to share this soft and dreamy hot air balloon scene created with watercolors, vellum, and the fun Fly Away Friends Stamp Set!

I started off by using a panel of watercolor cardstock, a waterbrush, and watercolors to create a soft watercolor wash – I aimed for a look that would resemble the sky at sunset or sunrise.

While it was still damp, I added some splatters with the same colors of watercolor, and misted the areas that were a little dryer with water so that it would blend out.

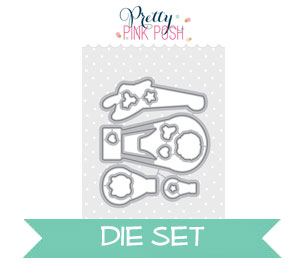
I set that aside to dry, and stamped the fun hot air balloon from Fly Away Friends in gray ink on gray cardstock, die cut with the Coordinating Fly Away Friends Dies, and colored with Prismacolor colored pencils.

I had actually die cut my image before stamping (playing in my head with the idea of using it as a silhouette, but changed my mind halfway through), so I had lined it up in the negative in my MISTI to stamp the original image. This allowed me to stamp over in the exact same place and heat emboss in white over the original image. It definitely would have been easier though to stamp, color, restamp and emboss, THEN die cut – but I thought I would share this tip in case you got things out of order like I did this time! Haha!

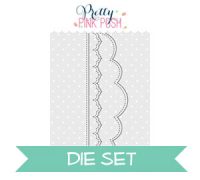
By now my sky background had dried sufficiently, so I decided to add some soft dreamy clouds to the scene! I used Stitched Borders 2 to die cut some panels of vellum, and layer them together at the top and bottom of the card. I held them in place with a *tiny* bit of adhesive, then took it to my sewing machine to sew all the way around the edges, thereby attaching the vellum clouds nicely and firmly.

Finally, I couldn’t decide which sentiment to use, so I pulled out several, and built my own custom sentiment! I used my MISTI again to stamp these in black ink – thanks to the texture of the watercolor paper it can be difficult to get a clear impression, so using the MISTI helped make it super easy.

I adhered the hot air balloon, tucking the bottom under the clouds on the lower edge of the card – making it look as if it is floating up through the clouds!

Finished off by adding a good sprinkling of Pearl White Jewels for a touch of sparkle – these jewels are so fun! I can’t get enough of them!

I had originally planned on putting one of the cute critters in the hot air balloon…but ended up like the scene as it was! I loved that this set would work so well for cute and fun cards – but also something completely different like this card!
Thanks so much for stopping by today! Have a wonderful day!!!
Lovely card!!
I love this card. Ok you sold me on this set. I better head over. I love how it looks completely different without the critters. Either way is awesome but I really like this grown up option.