Idea Sheets

| | |

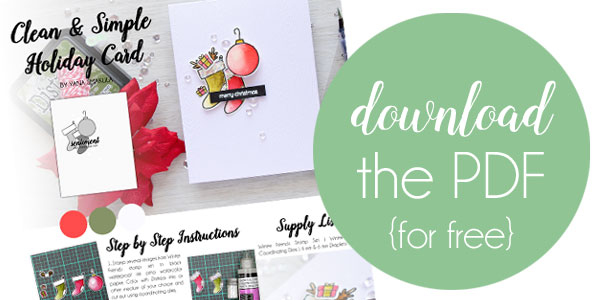
Clean & Simple Watercolor Christmas + PDF Download

Pretty Pink Posh: Clean & Simple Watercolor Christmas

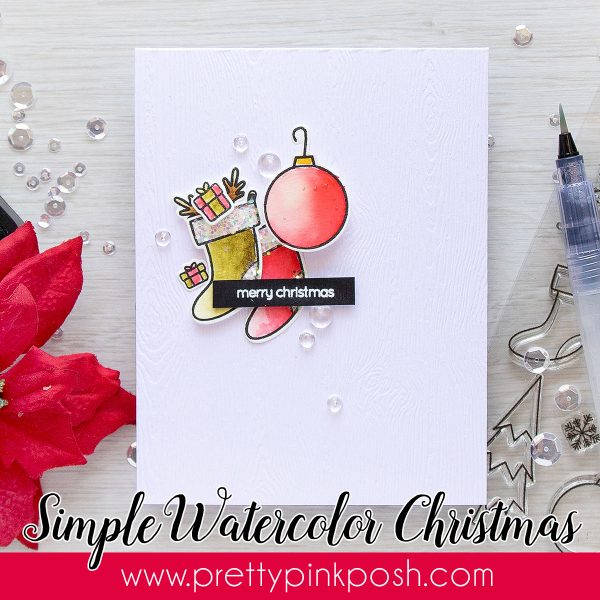
Hello, Pretty Pink Posh fans! This is Yana and I have a Clean & Simple Christmas card to share today.

Pretty Pink Posh: Clean & Simple Watercolor Christmas

Clean & Simple cards are sometimes the most difficult to make as each element needs to placed in its perfect spot and figuring out where that spot is can take a lot of time. If you’ve never created a Clean & Simple card I’m hoping you will be inspired by my project today and will give this style a try! If you do – be sure to share and tag us on social media so that we can take a look! We love seeing what you make!

Pretty Pink Posh: Clean & Simple Watercolor Christmas

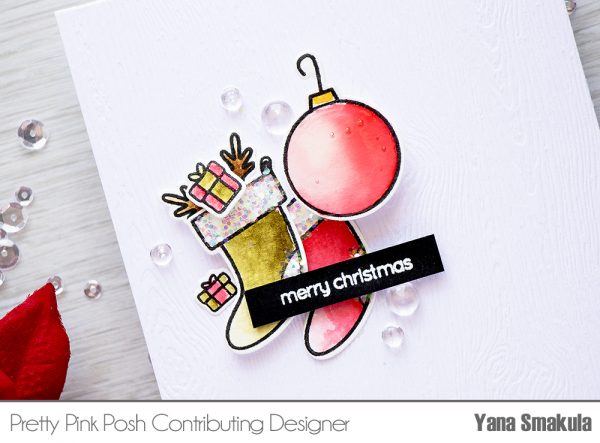
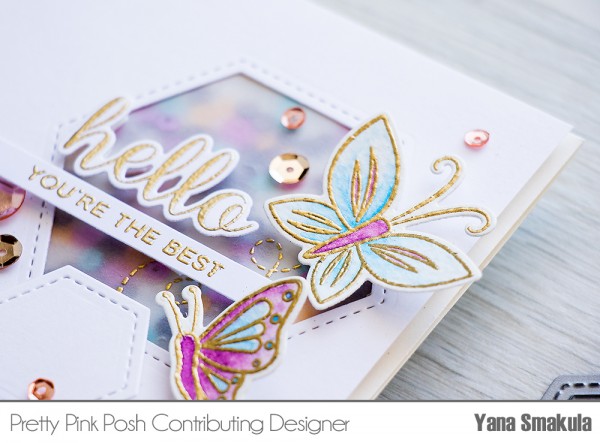
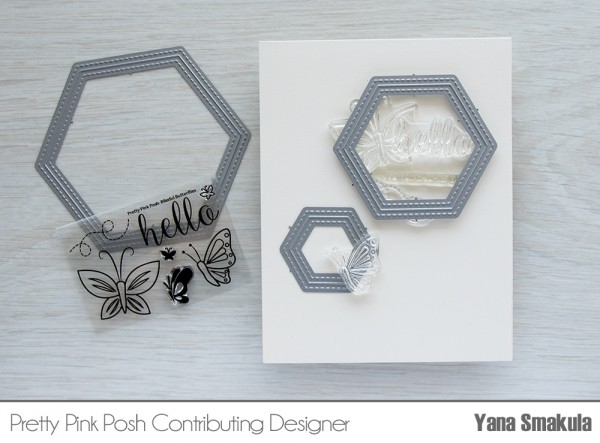
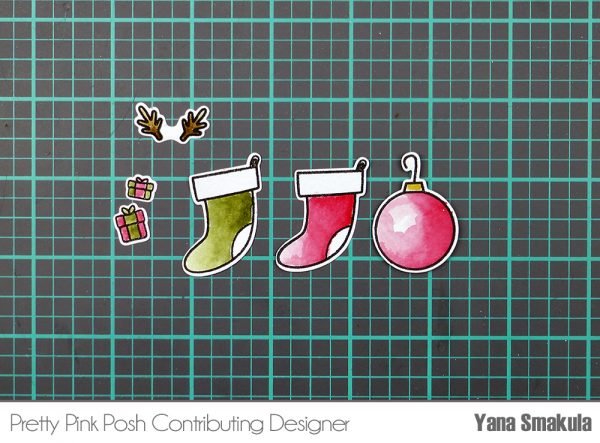
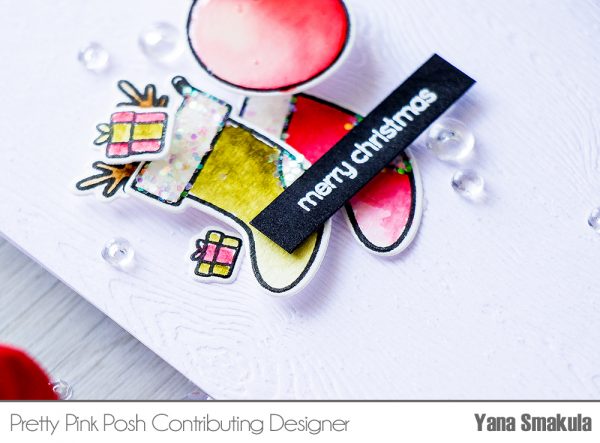
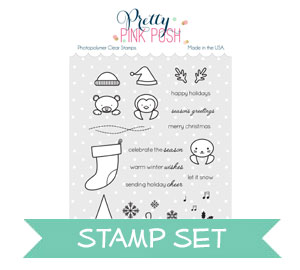
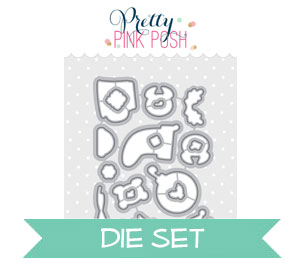
To create this card begin by stamping several images from the Winter Friends stamp set in black waterproof ink onto watercolor paper. Color using your favorite watercolors (I used Distress Inks) and cut images out using coordinating dies.

Pretty Pink Posh: Clean & Simple Watercolor Christmas

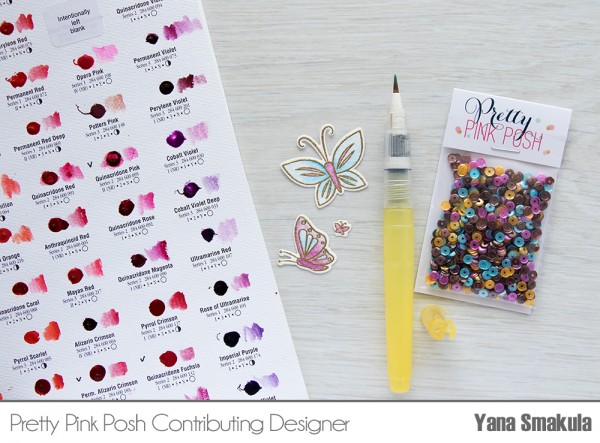
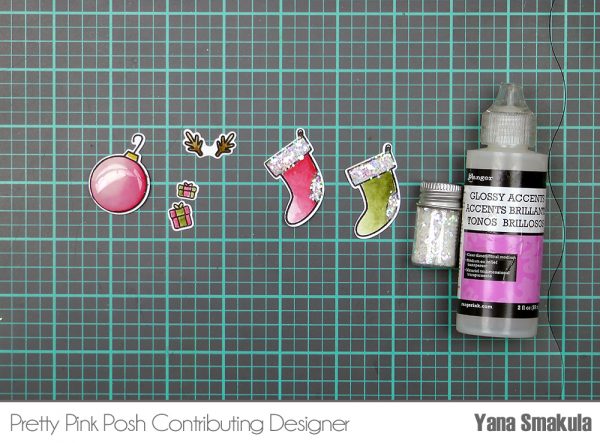
Use glue and some chunky clear or white glitter to add little glittery touches to Christmas stockings. Also coat Christmas bauble with Glossy Accents to make it look more realistic. You can add a bit of shimmer with the help of Wink Of Stella glitter pen or a similar product or draw small details over watercolor using white gel pen to diversify your images if you’d like.

Pretty Pink Posh: Clean & Simple Watercolor Christmas

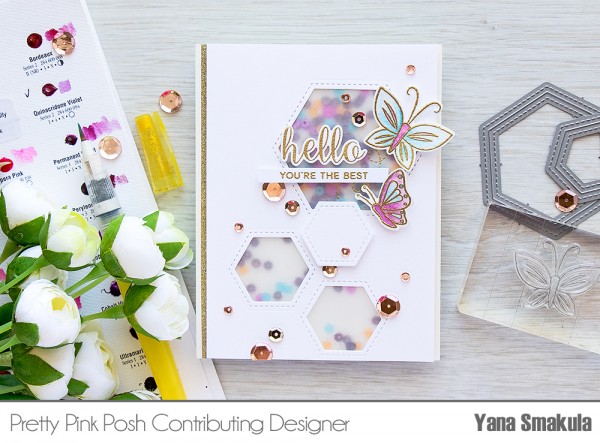
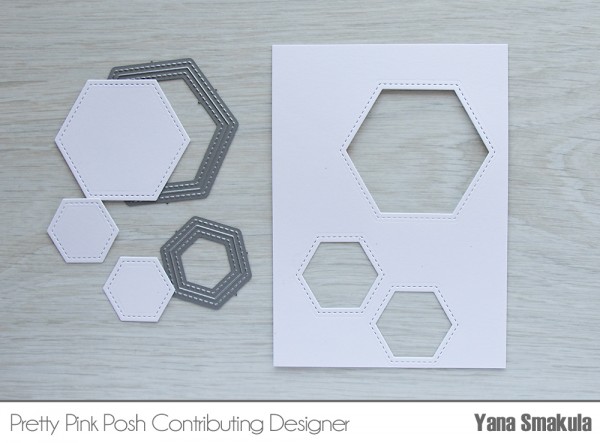
For Clean & Simple cards I prefer to use specialty cardstock with either some sort of impressed or printed texture for maximum impact. I went with white wood grain cardstock here and created an A2 top folding card base. If you don’t have cardstock like this you can either dry emboss your card base with the help of an embossing folder or texture plate or stamp a subtle design in very light gray ink.

Pretty Pink Posh: Clean & Simple Watercolor Christmas

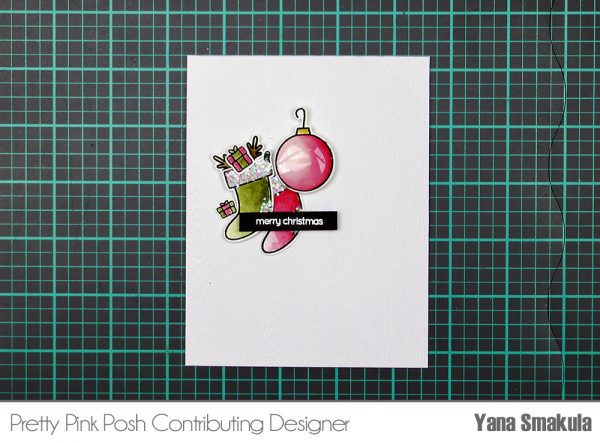
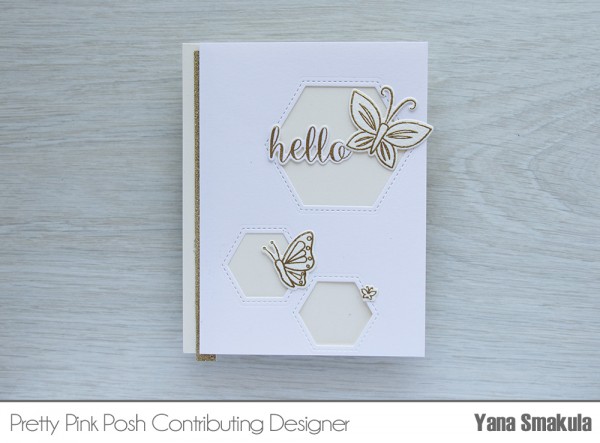
Arrange your images on the card base and use a mix of double sided tape and foam adhesive to adhere them onto the card to create some dimension. Be sure to add a sentiment, too! I heat embossed Merry Christmas in white embossing powder onto black cardstock and trimmed it into a narrow strip. I used black cardstock here to compliment black stamped outlines of my images.

Pretty Pink Posh: Clean & Simple Watercolor Christmas

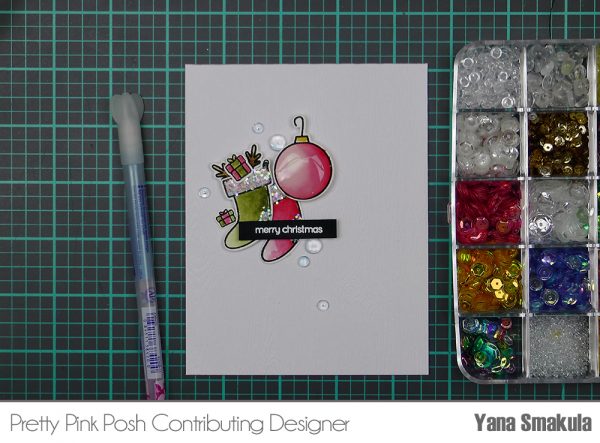
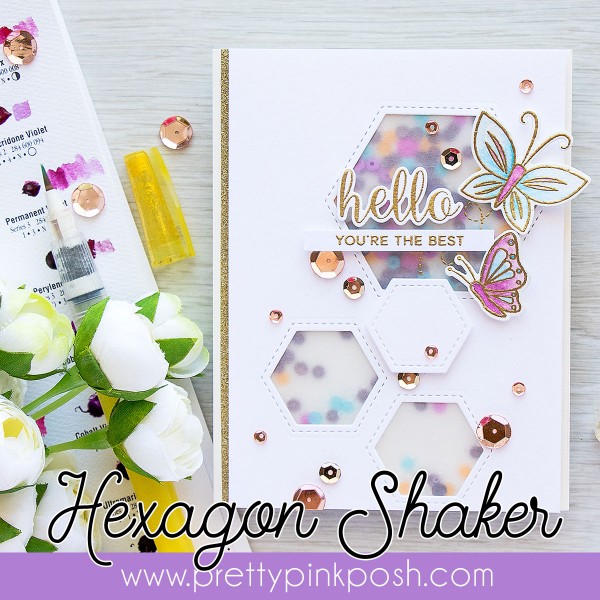
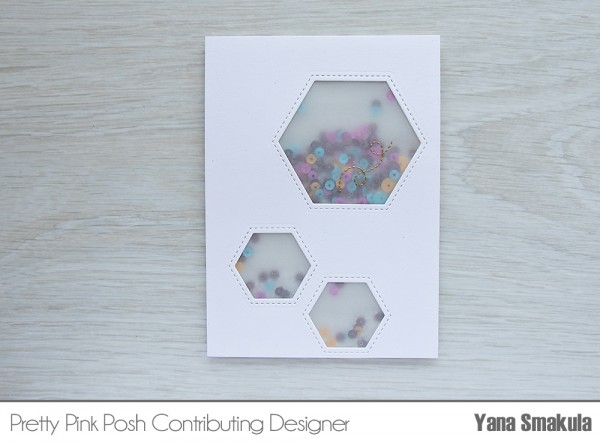
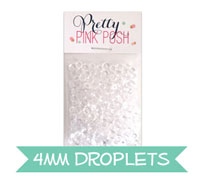
Once you have everything adhered it is time to add finishing touches. I went with 4mm Clear Droplets and 6mm Clear Droplets and adhered them around my cluster creating a visual triangle. I not only alternated the sizes of the drops I used, but also the number of drops I included for a more dynamic look

Pretty Pink Posh: Clean & Simple Watercolor Christmas

Pretty Pink Posh: Clean & Simple Watercolor Christmasborder

winterfriendswinterfriendsdies

4mmdroplets 6mmdropletsglossy

I hope you’ve enjoyed this card and idea sheet!

| | |

Creating Felt Flowers + PDF Download

Pretty Pink Posh: Creating Felt Flowers

Hello, Pretty Pink Posh fans! This is Yana and today I am stretching my dies and using them to make flowers for an elegant Sending Hugs card.

Pretty Pink Posh: Creating Felt Flowers

Dies are such versatile tools and you can do so much using them. In one of my previous blog posts I shared a card where I used one of Pretty Pink Posh dies to die cut canvas, today I’m going to die cut felt and manipulate the die shapes slightly to create florals.

Pretty Pink Posh: Creating Felt Flowers

Before we get start I’d like to point out that you can use your thin dies to die cut felt, but not all brands felt will cut equally nicely. I suggest staying away from the cheapest felt and going with something a bit more expensive if you’d like to get a nice clean cut with your dies. I have a few different brands of felt and some die cut okay, some die cut beautifully, others don’t cut at all. My favorites so far are Simon Says Stamp and WPlus9.

Pretty Pink Posh: Creating Felt Flowers

So grab your felt and Pretty Pink Posh dies and start die cutting! I’m using a scalloped border die from the Stitched Borders 1 set and also an inner circle die from the Stitched Duo 2 set.

Pretty Pink Posh: Creating Felt Flowers

The scalloped border die gives you a nice border which you’ll need to trim with your scissors. I like to trim mine pretty close to the scallops, this way when I roll my flowers they end up being not too dimensional (not too tall). You can also use border die from the Stitched Borders 2 set, Stitched Borders 3 and Stitched Borders 4. If you have all of these sets you can even mix and match your die cuts and have flowers with different size petals. To create the flower simply roll the scalloped strip and secure the end with glue. I used Glossy Accents, however a hot glue gun would probably be a better option.

Pretty Pink Posh: Creating Felt Flowers

You can also create flowers out of circles. Here I’ve die cut a few using the inner die from the Stitched Duo 2 set and used white thread to pinch the middle of the circle to create tiny blooms. If you’d like to have bigger flowers, use a circle die from the Stitched Essentials 1 set or even from the Stitched Banners Duo 2.

Pretty Pink Posh: Creating Felt Flowers

No flowers look complete without a few leaves, so I used a branch from the Holiday Pals die set to die a few leaves for my floral clusters.

Pretty Pink Posh: Creating Felt Flowers

To put this card together I also created a mini see-through shaker by using a die from the Stitched Essentials 1 set along with tiny silver confetti stars and smallest clear sequins from my Sparkling Clear Sequin Mix. I die cut one more tag out of dark gray cardstock by using a die from the Mini Tag die set. The sentiment, Sending Hugs, was heat embossed in white embossing powder onto vellum and the vellum strip was wrapped around the card.

Pretty Pink Posh: Creating Felt Flowers

I also added one tiny banner die cut out of felt to continue the overall felt theme and embellished my card with a number of clear sequins.

Pretty Pink Posh: Creating Felt Flowers + PDF Download

Pretty Pink Posh: Creating Felt Flowersborder

Pretty Pink Posh: Creating Felt FlowersPretty Pink Posh: Creating Felt FlowersPretty Pink Posh: Creating Felt FlowersPretty Pink Posh: Creating Felt Flowers

Have fun cardmaking!

| | |

Camping Shaker + PDF Download

Pretty Pink Posh: Camping Shaker + PDF Download

Hello, Pretty Pink Posh fans! This is Yana and I have a video tutorial to share today featuring one of the new stamps & dies- Camping Friends.

Pretty Pink Posh: Camping Shaker + PDF Download

To create the shaker area for this project I used a coordinating die, not a stand alone die, and die cut a tent window in a rectangle panel. I often like to use my coordinating dies on their own without the stamps and using the die like this is a great example of how you can stretch the use of dies beyond just using them with their matching stamps.

Pretty Pink Posh: Camping Shaker + PDF Download

I also filmed a video tutorial to walk you through the cardmaking process from start to finish.

Watch the video above   I Watch the video in HD on YouTube  border
Instead of using acetate for my shaker window, I once again used vellum. If you missed my earlier post, click here. The reason I went with vellum here is because when using vellum, unlike acetate, I’m able to emboss it. I embossed a tent image in Gold Embossing powder (I made two identical cards and for the other card I used Simon’s Antique Gold embossing powder) and adhered vellum screen onto the die cut rectangle from behind.

Pretty Pink Posh: Camping Shaker + PDF Download

Tip: when using acetate you won’t be able to heat emboss it unless the acetate is heat resistant, but you can stamp on acetate with special kind of ink like StazOn. You can also stamp on vellum and there are a lot of different kinds of ink what will dry on vellum surface.

Pretty Pink Posh: Camping Shaker + PDF Download

Instead of using regular white and brown cardstock, I used woodgrain textured card as I feel is was a perfect match for this nature-themed project. I also added a bit of natural twine to the mix.

Pretty Pink Posh: Camping Shaker + PDF Download

To finish this card I heat embossed, watercolored and die cut several additional images from the Camping Friends stamp set, foam mounted them onto the shaker panel and embellished my card with 4mm and 10mm Rose Gold sequins as well as 4mm and 6mm clear droplets.

Pretty Pink Posh: Camping Shaker + PDF DownloadPretty Pink Posh: Camping Shaker + PDF Download

campingfriendsPretty Pink Posh: Butterfly Hexagon Shaker

Pretty Pink Posh: Butterfly Hexagon ShakerPretty Pink Posh: Butterfly Hexagon Shakerheattool

Happy cardmaking! Thanks for joining us today!

| | |

Butterfly Hexagon Shaker + PDF Download

Pretty Pink Posh: Butterfly Hexagon Shaker

Hello, Pretty Pink Posh fans! This is Yana and I’m excited to share a vellum shaker card today using some of the brand new products coming on August 5th.

I recently discovered that vellum is a great screen to use for shaker cards. It mutes the background a little bit, helps to draw the eye to the focal point (not the shaker itself) and still has that “shaker” element of surprise.

Pretty Pink Posh: Butterfly Hexagon Shaker

Before I get to the tutorial part of this post, I want to share a bit about about my process. In the past I used to love to use sketches for my projects, I would also make sketches of cards I planned to make on paper (I had a dedicated sketch notebook) and would always use them in my craftroom.

Pretty Pink Posh: Butterfly Hexagon Shaker

Pretty Pink Posh: Butterfly Hexagon Shaker

These days my approach is a bit different. I like to create a sketch by using the products themselves. Photo below shows how I used hexagon dies and stamps to lay out my future card design on paper. I don’t always follow my initial design, but I do enjoy and do find it helpful to lay my supplies out like this. It helps me to visualize and better plan my card.

Pretty Pink Posh: Butterfly Hexagon Shaker

I decided to use the new Stitched Hexagons dies and create several windows in my front panel. To re-create this panel you’ll need to die cut the second largest and also third largest hexagons out of white cardstock that is cut to 4 by 5 ½”.

Pretty Pink Posh: Butterfly Hexagon Shaker

Next go ahead and stamp and heat emboss several images from the Blissful Butterflies set in gold embossing powder onto watercolor paper, cut the images out with the help of matching dies.

Pretty Pink Posh: Butterfly Hexagon Shaker

To help me decide on the colors to color my images I used a pack of sequins, Wildflowers Mix, as my inspiration and watercolored in purple and blue. This is a great trick and it really saves a lot of time when it comes to embellishing a card. Instead of trying to match the color of sequins to your project you can actually use the sequin mix as a color palette.

To watercolor these I used Daniel Smith sampler watercolor sheets and a water brush. However any other watercolor medium can be used.

Pretty Pink Posh: Butterfly Hexagon Shaker

The reason I decided to use vellum for the shaker on this card and not acetate, is because I wanted to add additional heat embossing and you can’t heat emboss acetate unless it’s a heat resistant one.

Prep the vellum for heat embossing as you would paper, stamp the image, cover with embossing powder and heat set it. The trick to embossing vellum is getting your heat tool nice & hot and applying heat in short bursts.

Pretty Pink Posh: Butterfly Hexagon Shaker

After embossing go ahead and adher vellum from the back of your die cut panel, build the shaker walls with the help of foam adhesive, add the Wildflowers Mix sequins (I used both 4mm and 6mm) and closed the shaker with another layer of vellum, you can also use acetate here.
Pretty Pink Posh: Butterfly Hexagon Shaker

The base panel for this project is done at this point and you can go ahead and adhered it onto a tan top folding A2 card base and add a strip of gold glitter paper to spice things up.

Pretty Pink Posh: Creating Felt Flowers + PDF Download

Pretty Pink Posh: Butterfly Hexagon Shaker

Foam mount the butterflies as well as the sentiments (I also heat embossed “You are the best” from the Birdie Friends stamp set and embellished this card card with a number of Rose Gold Sequins in all 3 sizes.

Pretty Pink Posh: Butterfly Hexagon ShakerPretty Pink Posh: Butterfly Hexagon Shaker
Pretty Pink Posh: Butterfly Hexagon ShakerPretty Pink Posh: Butterfly Hexagon ShakerPretty Pink Posh: Butterfly Hexagon Shaker

borderBe sure to mark your calendars for August 11 & 12. We have a super fun blog hop that will showcase the new stamps, dies, sequins and I’m bringing along the design team and some amazing special guests. If you’re on Facebook, be sure to visit the blog hop event page HERE.

augustbloghop1

We hope you enjoyed today’s tutorial and look at the upcoming release. Stay tuned- we’ll have new posts every day this week leading up to the release on Friday, August 5th!