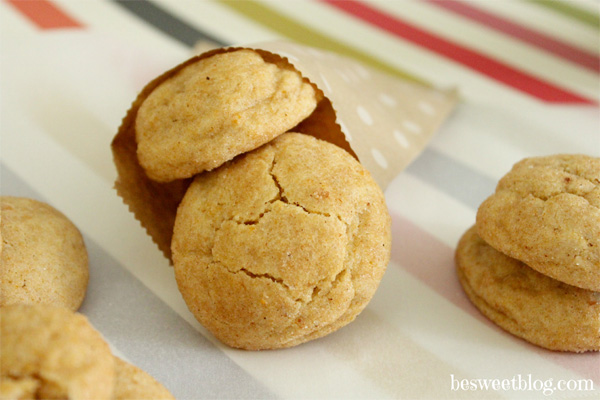
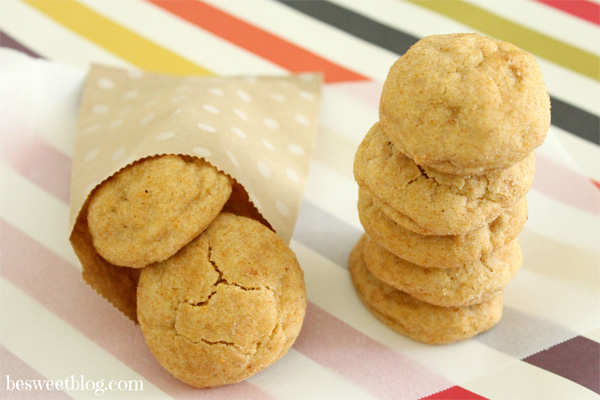
Pumpkin Snickerdoodles
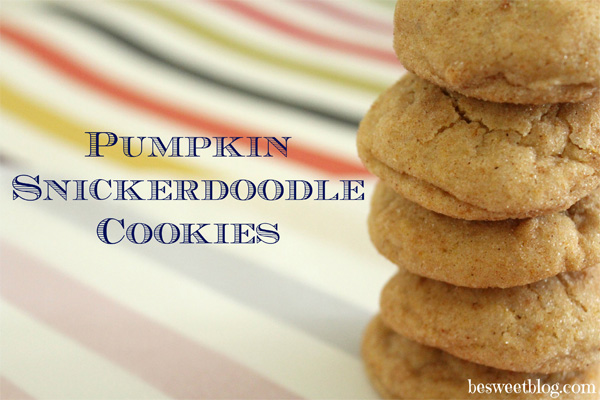 Oh my! If you love pumpkin, you will love this recipe for Pumpkin Snickerdoodle Cookies. This time of year, I feel like I’m making them every week!
So m-o-i-s-t, a little chewy, and a whole lotta fall flavor! Even if you don’t like pumpkin, you might want to try these. I have a friend who doesn’t like pumpkin… she still loved these cookies. The flavor isn’t overwhelming at all, it’s more soothing and comforting.
Bonus? Your house will smell so amazing you’ll never want to leave. The neighbors might even come over if they get even a teeny whiff of this goodness! And, what’s more? These are Grant’s all time favorite cookies. That’s saying something given the fact that he’s my taste-tester and usually tries 2-3 new sweets each week :)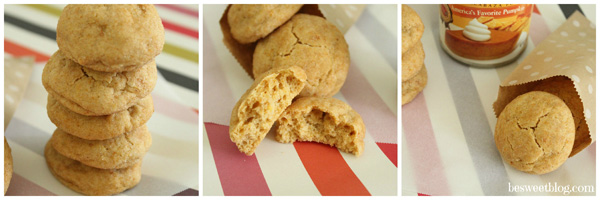
- COOKIES:
- 3 3/4 c. flour
- 1 1/2 tsp. baking powder
- dash of salt
- 1 tsp. ground cinnamon
- 1/4 tsp. ground nutmeg
- 2 sticks unsalted butter (softened to room temperature)
- 1 c. sugar
- 1/2 c. brown sugar
- 3/4 c. Libby’s pumpkin puree
- 1 egg
- 2 tsp. vanilla extract
- COATING:
- 1/2 c. sugar
- 1 1/2 tsp. ground cinnamon
- 1/2 tsp. ground ginger
- 1/2 tsp. allspire
- Combine flour, baking powder, salt, cinnamon, and nutmeg in a medium bowl. Set aside.
- Using an electric mixer, beat butter, sugar, and brown sugar until well-blended and fluffy, about 2.5 minutes.
- Add the pumpkin puree and mix until smooth.
- Blend in the egg and vanilla until well-incorporated, making sure to scrape the sides of the bowl as you go.
- Place the mixer on low speed and gradually add the dry mixture to the wet ingredients. Mix until just incorporated.
- Cover with plastic wrap and chill for 3 hours.
- While dough is chilling, make your coating mixture in a small bowl. Simply combine sugar and spices.
- Preheat oven to 350 degrees and line baking sheet with parchment paper.
- Form dough into balls, about 1.5-2 inches in diameter.
- Roll each ball in the sugar mixture, adding a sweet coating to each.
- Bake cookies for 9-11 minutes, or until just set (a faint crack may appear on the top of each cookie). Cookies may appear a bit underdone, but will finish cooking through once removed from oven.
- Cool for 3 minutes on baking sheet and transfer to a cooling rack.
- Repeat process until all dough is used up (make sure dough stays in fridge in between baking process- keep it cold!)
As always, don’t forget to keep up with me on Intsagram, Pinterest, Facebook, and Twitter! Have a “sweet” Monday, y’all!