Blog Hop

2019 Mega Sponsor Fall Blog Hop Begins Today!

Pretty Pink Posh: 2019 Mega Sponsor Fall Blog Hop Begins Today!

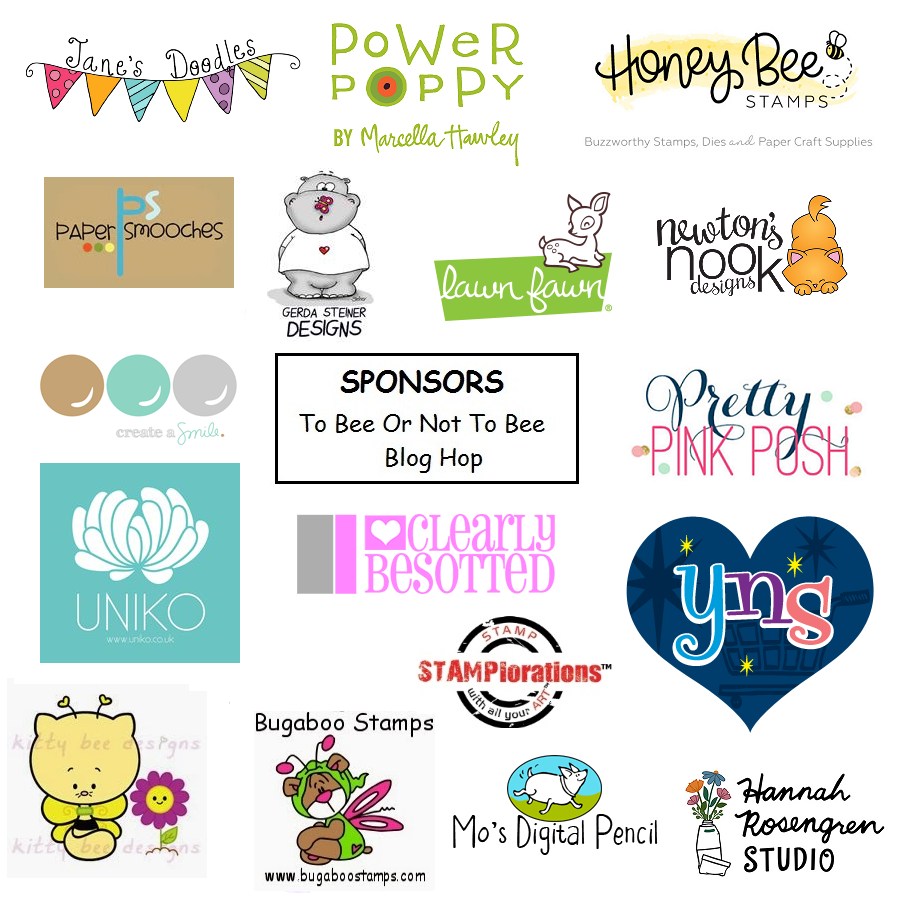
Hello, Gemma here today and we are excited to be part of an exciting event. We have partnered with 13 other stamp and paper craft companies to do a special blog hop and will be giving away 15 prizes to 15 lucky winners!

Pretty Pink Posh: 2019 Mega Sponsor Fall Blog Hop Begins Today!

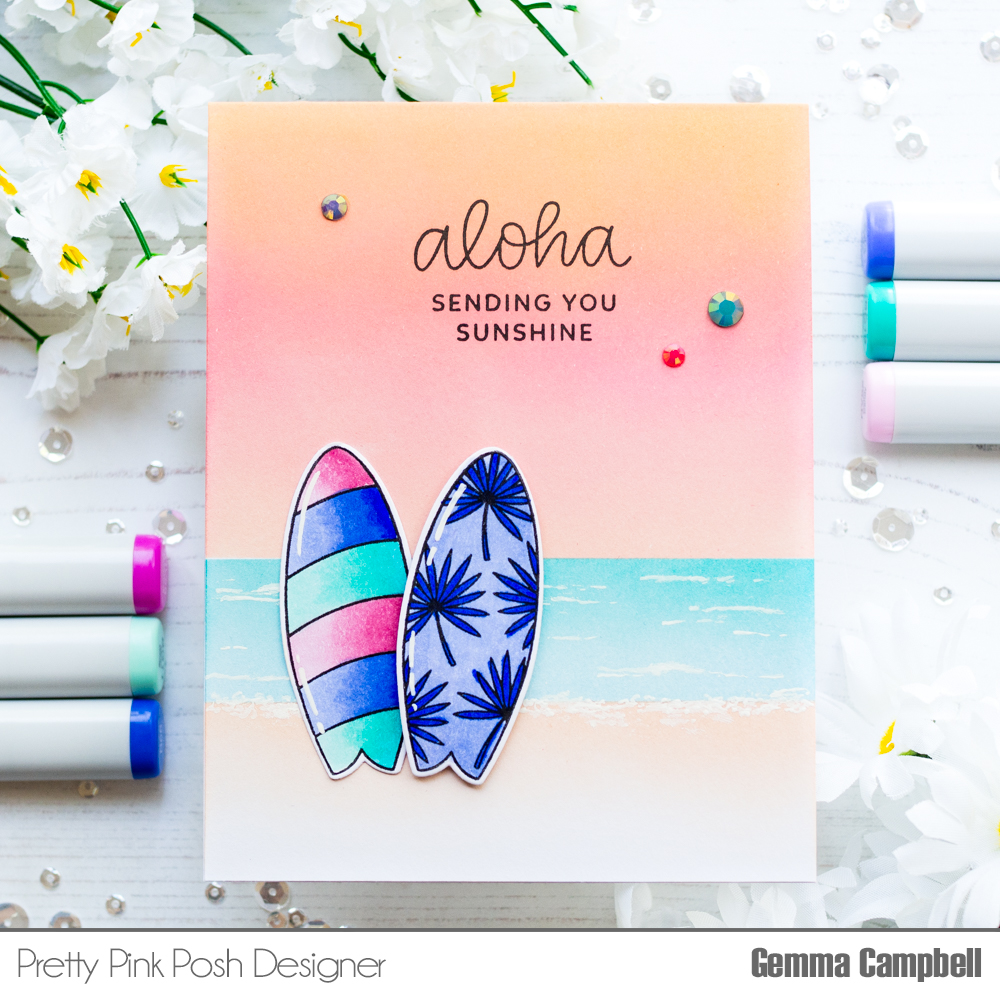
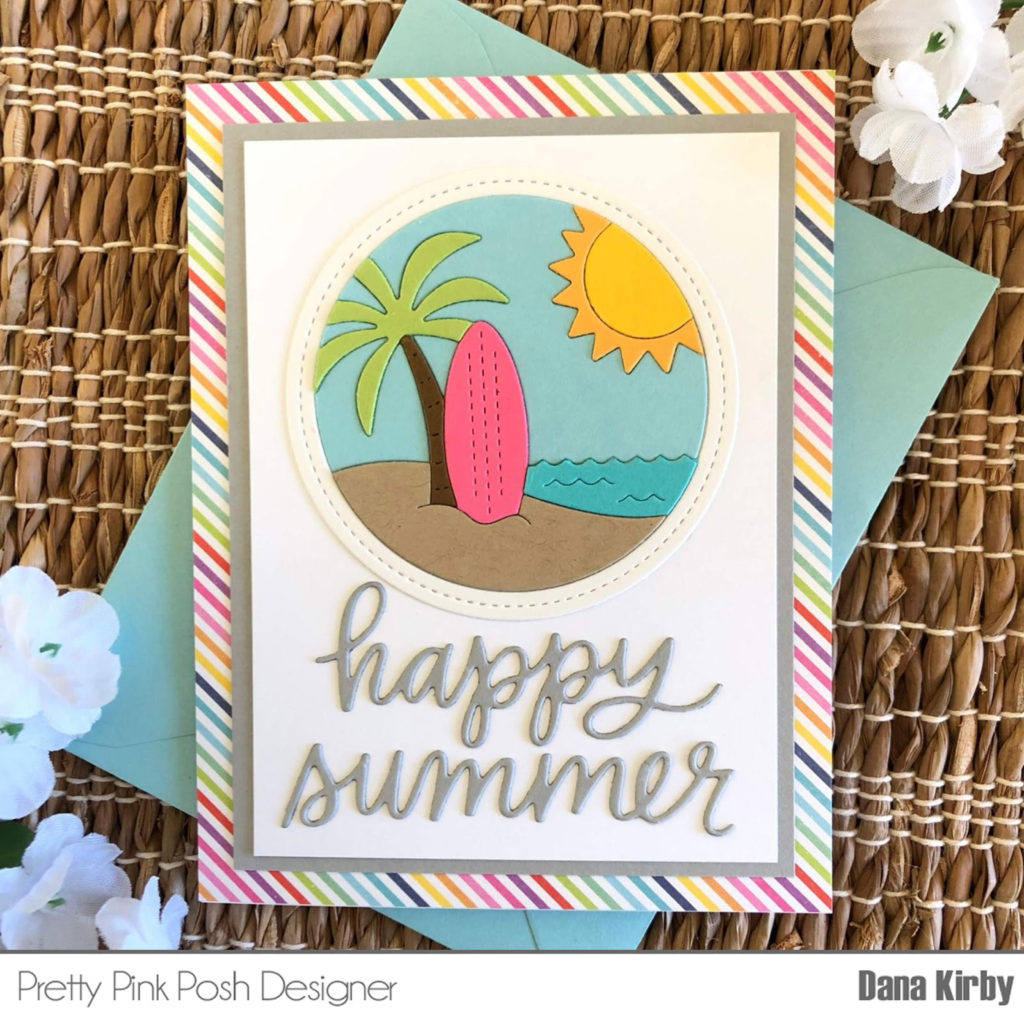
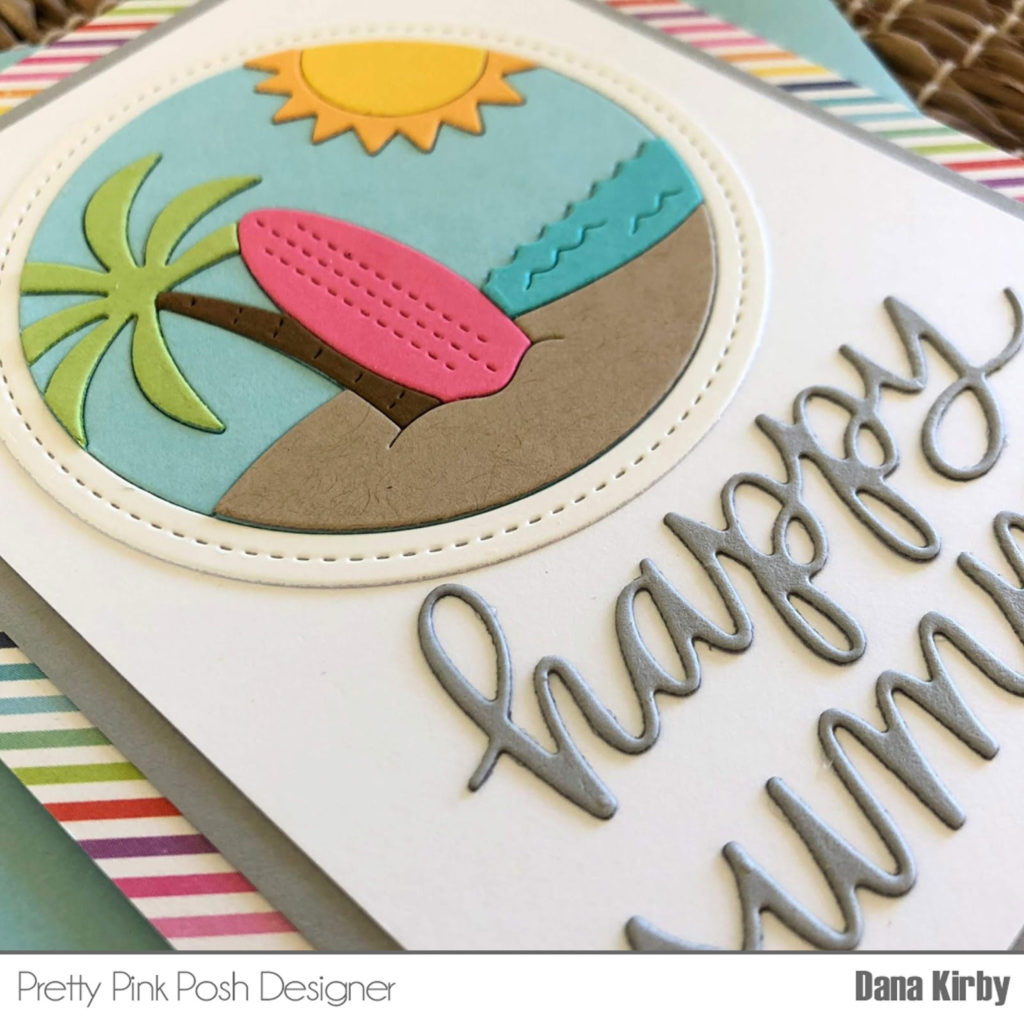
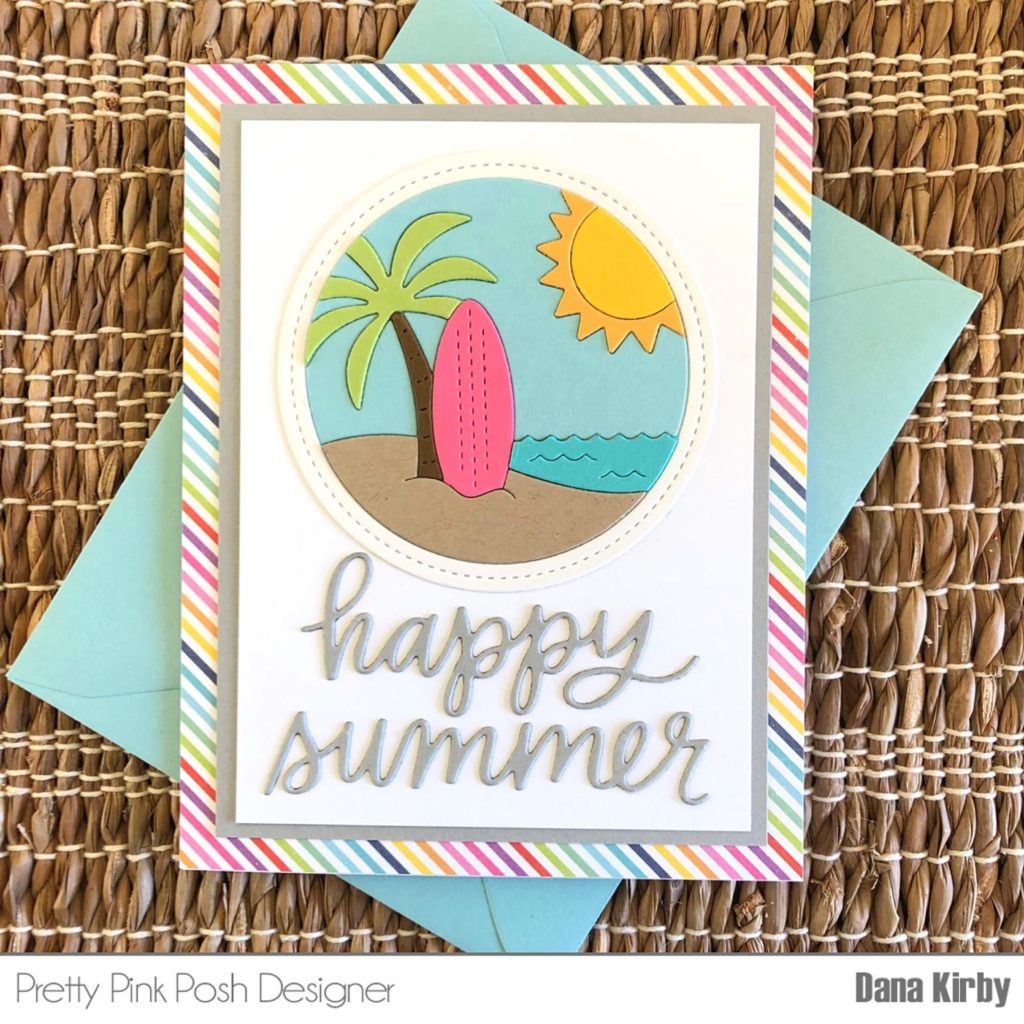
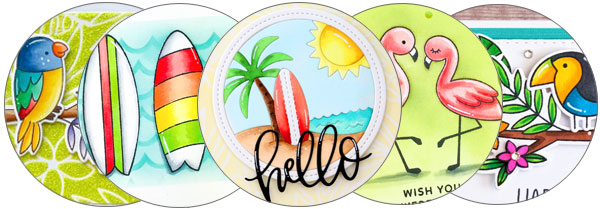
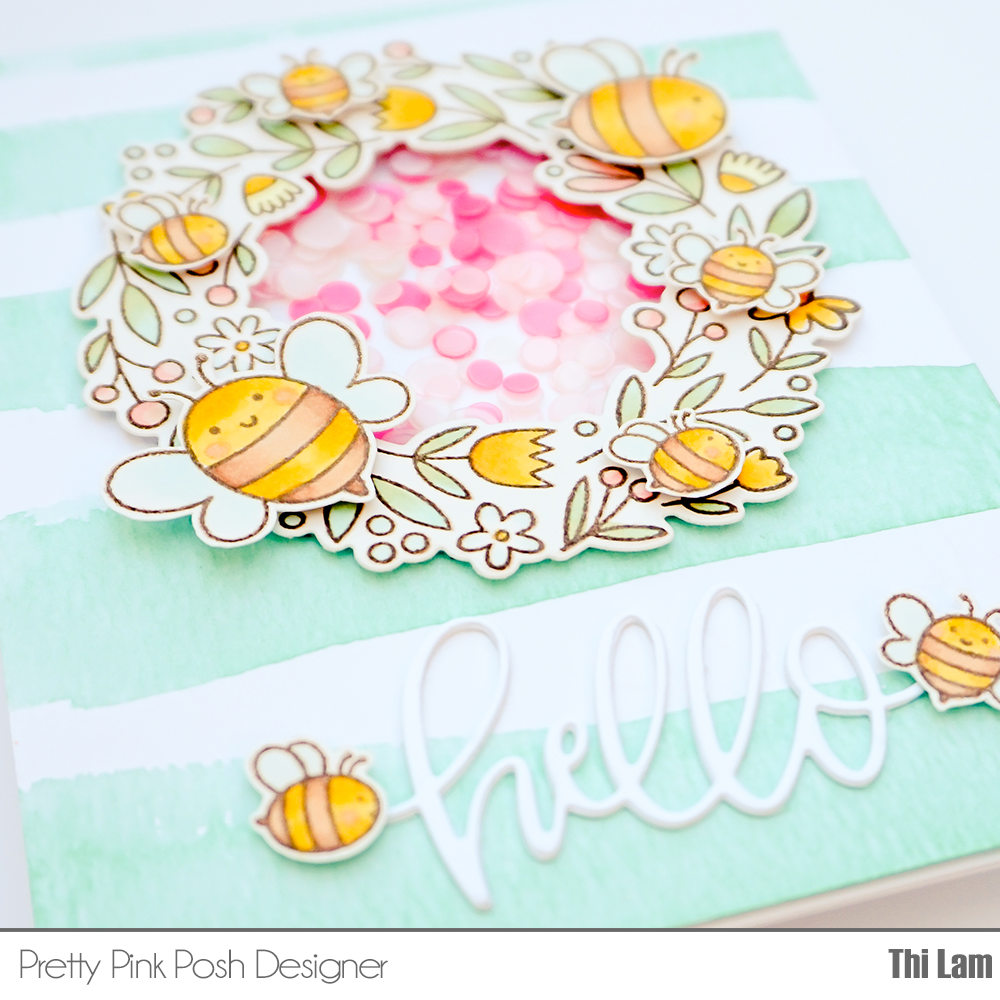
Today’s card is using the fabulous Summer Surfboards set. This card just makes me want to be by the seaside on a summers day. I began by adding some colour to my card base with distress oxide inks. I masked off areas of the card to create sky, sea and sand. Here are the colours I used:

Sky: tattered rose, picked raspberry and dried marigold 
Sea: tumbled glass and peacock feathers 
Sand: tattered rose

Pretty Pink Posh: 2019 Mega Sponsor Fall Blog Hop Begins Today!

By using a light hand with the tattered rose distress oxide ink, it adds a lovely warm glow to the sand, reflecting the colour in the sky. For the sea, I added some white gel pen details for surf and waves, smudging with my fingers to soften.

Pretty Pink Posh: 2019 Mega Sponsor Fall Blog Hop Begins Today!

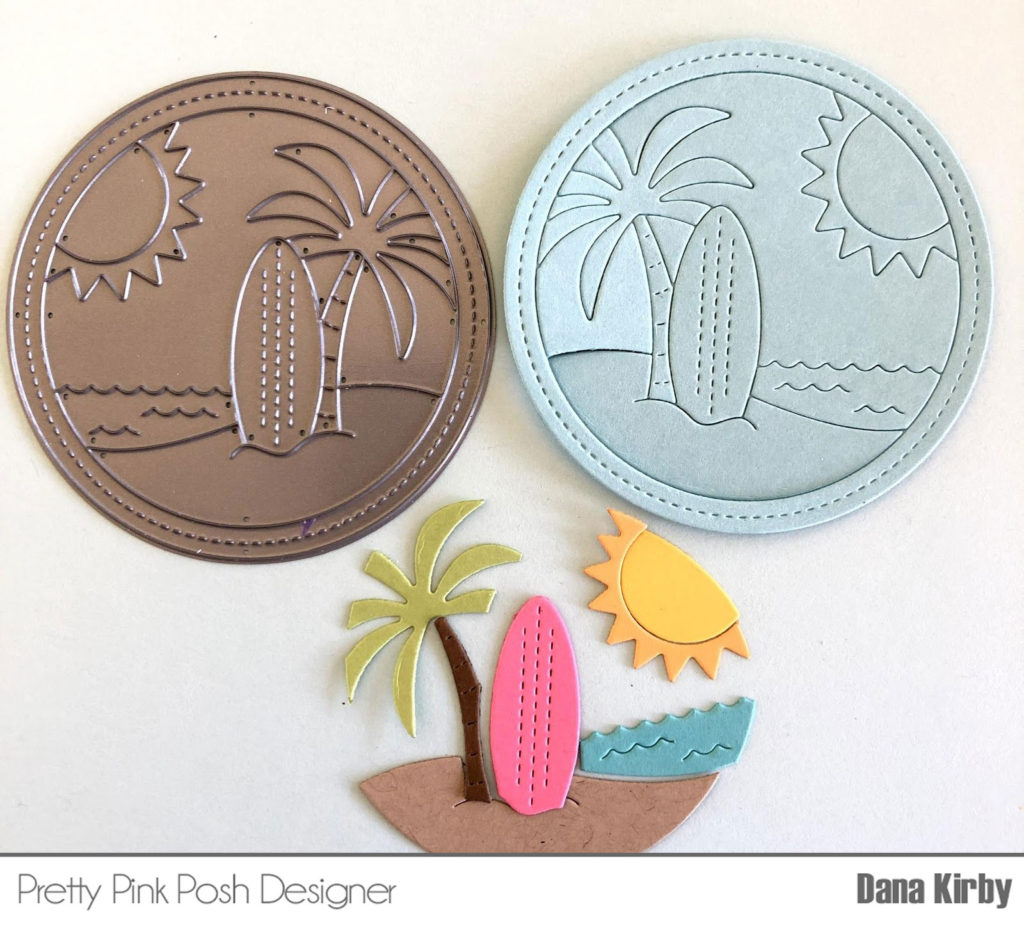
Next, I coloured two of the Summer Surfboards with copic markers, then die cut them with the coordinating dies. I used foam tape to adhere them to my card base,

The sentiment is from the Tropical Birds stamp set, and I added some watermelon, cornflower, and caribbean blue jewels around it to finish.

Pretty Pink Posh: 2019 Mega Sponsor Fall Blog Hop Begins Today!

1) Follow this blog and each participating sponsor in the hop

2) Comment at each blog stop

Thanks so much for stopping by and joining us today. I hope you were inspired!

June Product Release Blog Hop- Day 2

Check out Day 1 of the blog hop HERE

Pretty Pink Posh: June Product Release Blog Hop- Day 2

Hi Friends! It is Dana here today sharing a Tropical themed card from the New Release at Pretty Pink Posh. My card today uses the most creative and fun die called Beach Scene. It is one die that cuts all of the pieces to create your beach scene.

Pretty Pink Posh: June Product Release Blog Hop- Day 2

To create my Beach Scene, I began by die cutting the scene from a sky blue piece of cardstock. I kept this piece together and attached it to my card panel.  Next, I used little scraps of cardstock and I die cut the small little pieces for the scene. I then layed the small pieces on top of my die cut matching the lines. It was really easy to do because everything matches up perfectly with my original cut.

Pretty Pink Posh: June Product Release Blog Hop- Day 2

Next, I used the Happy Summer Script die. I die cut it from a piece of cement gray cardstock and attached it to the bottom of my card panel. This die is perfect for an end of the school year card… perfect for a student, teacher or even the office staff.

Pretty Pink Posh: June Product Release Blog Hop- Day 2

To finish my card, I mounted my card front onto a cement gray cardstock mat and attached everything to a rainbow panel of patterned paper. Lastly, I attached everything to my A2 card base.

Pretty Pink Posh: June Product Release Blog Hop- Day 2

PRIZES: be sure to leave comments on each stop. We are giving away 4 $25 gift certificates to four random comments (2 winners each day) left before June 17, 2019 at 11:59 PM PST. I’ll be announcing the winners next week, so be sure to return and see if you are one of the winners!

Pretty Pink Posh blog <<you are here
Yana Smakula
Dawn McVey
Caly Person
Cathy Zielske
Rachel Alvarado
Dana Kirby
Kelly Latevola
Eloise Blue
Yoonsun Hur
Thi Lam
Heather Hoffman
Sandy Allnock

Pretty Pink Posh: June Product Release Blog Hop- Day 2

Be sure to leave comments on all the stops- we’ll be randomly picking comments to win gift certificates. Thanks for joining us!

June Product Release Blog Hop- Day 1

Check out Day 2 of the blog hop HERE

Pretty Pink Posh: June Product Release Blog Hop- Day 1

Hello, everyone! Marge here today and I’m sharing a watercolor card featuring the Hibiscus Flowers Stamp Set from Pretty Pink Posh.

Pretty Pink Posh: June Product Release Blog Hop- Day 1

I stamped the flowers using Seedless Preserves ink and the leaves with Antique Linen ink.  I water-colored them using my Zigclean brush markers and Daniel Smith Watercolor Paints. I cut them all with Hibiscus Flowers Coordinating Dies. I cut a piece of watercolor paper into A2 size, then I splattered with dark paint and gold pearl ink and let them dry. 

Pretty Pink Posh: June Product Release Blog Hop- Day 1

In turn, I adhered flowers and leaves onto my panel using Glue Dots and Foam adhesives. “For you” from Everyday Greetings Set was stamped on the lower corner of the panel and then I embellished my card using 6mm Metallic Gold Sequins and 4mm Metallic Gold Sequins. I love that the Hibiscus Flowers Set has various shapes and sizes of flowers and leaves in it with lots of possibilities for designing.

Pretty Pink Posh: June Product Release Blog Hop- Day 1

PRIZES: be sure to leave comments on each stop. We are giving away 4 $25 gift certificates to four random comments (2 winners each day) left before June 17, 2019 at 11:59 PM PST. I’ll be announcing the winners next week, so be sure to return and see if you are one of the winners!

Pretty Pink Posh blog << you are here
Jennifer McGuire
Adelle Emer
y
Angelica Conrad
Gemma C.
Ardyth Percy- Rob
b
Suzy Plantamura
Elena Roussakis
Jeanne Jachna
Alix Davis
Melody Ruppl
e
Nicky Meek
Wanda Guess

Pretty Pink Posh: June Product Release Blog Hop- Day 1

We hope you have been enjoying all the inspiration with the tropical release. We’ll see you tomorrow for day 2 of the blog hop!

To Bee Or Not To Bee Blog Hop

Hello, crafty friends! Thi here for a fun blog hop and today I am sharing a BEE-autiful shaker card for World Bee Day and using the adorable Bee Friends stamp set! Pretty Pink Posh is participating today to support bees and raise awareness for the importance of bees. It’s a great cause and we have the perfect stamp set to celebrate these amazing insects!

Pretty Pink Posh: To Bee Or Not To Bee Blog Hop

Let’s start the card making! I first stamped the images from Bee Friends and Spring Wreath with brown ink and colored with Copic markers. I cut these little guys out and set aside to work on my background and shaker elements.

Pretty Pink Posh: To Bee Or Not To Bee Blog Hop

For the front panel, I freehand watercolored some light teal stripes onto watercolor paper and let this dry. After it dried, I die cut a circle and taped acetate to the back of this panel. Next, I used foam tape and built a well for my sequins to go in. For this card, I used Valentine Confetti Mix and filled the entire well. I then backed it with some white card stock. I adhered this panel onto an A2 top-folding card piece and moved on to decorate the front of my card.

Pretty Pink Posh: To Bee Or Not To Bee Blog Hop

I put some foam tape behind the wreath and adhered it over the shaker window. For more dimension, I also put my little bees on with foam tape so it would stand out. Basically, I was trying to make a bee wreath.

For my sentiment, I die cut just “hello” from the Hello Friend Script die three times on white card stock. I glued them together and glued to my card front. I finished this off with two of my little bee images and my card is finished.

Pretty Pink Posh: To Bee Or Not To Bee Blog Hop

Some of the Pretty Pink Posh team have also created inspiration with our Bee Friends set. You don’t want to miss them!


Here’s a list of the sponsors for this fun blog hop. There are lots of great prizes you can win if you leave comments!

Ready to hop along and see lots of great bee inspiration and possibly win some prizes?

Blog hop list:

  1. Milka Gubo
  2. Alexandra Suta
  3. Alice Huang
  4. Amy Tsuruta
  5. Donna Mikasa
  6. Kathy Curry
  7. Ksenija Rizova
  8. Larissa Walgemoed
  9. Neha Bhatt
  10. Nonni Niskanen
  11. Samantha Mann
  12. Sonja Kerkhoffs
  13. Tina Pavlovic
  14. Valentina Bizjak
  15. Gerda Steiner Designs
  16. Honey Bee Stamps
  17. Lawn Fawn
  18. Newton’s Nook Designs
  19. Paper Smooches
  20. Pretty Pink Posh <—you are here
  21. Uniko
  22. Your Next Stamp
  23. Milka Gubo (InLinkz – return after commenting and add your name to InLinkz)
Pretty Pink Posh: To Bee Or Not To Bee Blog Hop

Thanks so much for stopping by. I hope you enjoyed all the cute bee inspiration!

Blog Hop Winners

Hello and Happy Mother’s Day! I wanted to pop in quickly to announce the four lucky winners of the Product Release Blog Hop posts HERE and HERE. Here are the lucky winners…

Ladies, email me within 7 days and I’ll send over the gift certificates so you can shop!

Thank you to everyone who left comments on the blog hop and for the special guests and designers who shared their beautiful inspiration using our new release! I hope those of you who have purchased are enjoying your new goodies!

| |

April Product Release Blog Hop- Day 1

Check out Day 2 of the blog hop HERE

Hi, everyone! Marge here sharing a graduation card with the cute critters featuring the brand new April Release from Pretty Pink Posh.

I started by stamping Congrats Grad Stamp set and Animal Signs Stamp set on Copic friendly paper using Memento Black Ink, then I colored the images using my Copic markers. Then I cut them all using Congrats Grad Coordinating Dies and Animal Signs Coordinating Dies, added white details using a gel pen, and set them aside.

To make a background, I ink blended a piece of Bristol paper with Distress Oxide Spiced Marmalade, and Crushed Olive. Then, I placed the brand new Graduation Stencil onto my panel and applied moonstone glimmer paste through the stencil on the top part of the panel and let them dry.

I diecut Congrats Script Die out of white card stock twice, colored the top surface with Copic Markers and glued them together using Multi Medium Matte.

I used colors of E49-E47-E44 for script die-cuts. Before assembling a card, I chose cheerful sentiments to be inserted on the blackboard from Animal Signs Stamp set, School Friends Stamp set, and Bear Hug Stamp set and then I heat embossed them in white on each blackboard the critters are holding in their hands.

Now it’s time to assemble all the pieces together into a card! I adhered the background panel onto a card base, then I glued Congrats Script die cut on the top, and then I added cute critters with hats using Glue Dots and Foam Adhesives,  I also put eyeglasses from School Friends stamp set on the koala, which made the whole scene look so fun! As a final embellishment, I adhered Shamrock Jewels and Lemon Drop Jewels around the scene and finished off my card.

Main colors of Copic Markers I used are warm gray for the koala, cool gray for elephant, neutral gray for a black hat, BV08-V09-V06-V04 for purple hats, G29-G28 for blackboards, Y38-Y35 for yellow points, and R29-R22-R14 for red points.

PRIZES: be sure to leave comments on each stop. I’m giving away 4 $25 gift certificates to four random comments (2 winners each day) left before May 8, 2019 at 11:59 PM PST. I’ll be announcing the winners next week, so be sure to return and see if you are one of the winners!

I hope you enjoyed today’s post. Join us tomorrow for another day of inspiration from the team and guests! Thanks for stopping by!
| |

Altenew 5th Anniversary Blog Hop Day 2 + Giveaway

Hello and welcome! This is Caly and today, Pretty Pink Posh is helping Altenew celebrate their 5th Anniversary! It’s so wonderful to help other companies in the crafting community celebrate their success. There are lots of fun prizes, so be sure to hop along!

I’ve combined some Altenew 3D paper-layering dies with a Pretty Pink Posh sentiment.  The Garden Picks 3D dies and Wild Rose 3D dies are used on today’s card to create a floral spray with flowers in multiple sizes and colors.

3D dies can be difficult to work with when there are lots of layers – so it’s really important to stay organized!  I die-cut each of the pieces in the colors of cardstocks that I wanted to layer and carefully glued them together.

Once all the pieces were adhered together, I decided I would have to create a slimline card to use all the images.  The card is 4.25” x 8.5” and fits into a #10 sized envelope. I trimmed a card front to 4” x *8.25” and ink-blended it with some Salty Ocean Distress Oxide Ink before laying out the pieces to adhere to this layer.

Some of the flowers are adhered directly to the card front, while others are adhered with foam adhesive for some dimension.

After arranging and adhering my flowers, I used a sentiment from the Pretty Pink Posh Thoughtful Greetings stamp set to stamp in the upper right hand corner with black ink.  The card panel is then adhered to a card base and adorned with some Tonic Studios White Blizzard Glitter Drops.

Prizes:

Altenew is giving away a $50 gift certificate to 5 lucky winners and one Altenew Academy class to 10 lucky winners. There are also 14 awesome companies/crafty friends who are celebrating with us, and they are offering the following prizes:

Be sure to leave comments by 4/12/2019 for a chance to win! 33 winners will be chosen at random from the comments left on any of the blogs listed below and will be announced on the Altenew Blog on 4/20/2019.

This post is part of the Altenew 5th Anniversary Blog Hop Day 1! If you’ve been hopping along with us, you would have arrived here from Therese Calvird’s blog and your next stop is Nicole Picadura! You can find the full blog hop list or start at the beginning from the Altenew Card Blog.

Have a fabulous day and Happy Anniversary to Altenew!

Caly

March Blog Hop Winners

Hello all! Just a quick post to announce the four lucky winners of the Product Release Blog Hop posts HERE and HERE. Here are the lucky winners…

Ladies, email me within 7 days and I’ll send over the gift certificates so you can shop!

Thank you to everyone who left comments on the blog hop and for the special guests and designers who shared their beautiful inspiration using our new release!

| |

March Product Release Blog Hop- Day 2

Check out Day 1 of the blog hop HERE

Hello friends! It is Dana here today for Day 2 of our blog hop featuring the new release. This release is amazing…full of gorgeous stamps, dies, and of course, embellishments!

Today, I am using the Spring Wreath Stamp Set along with the Spring Wreath Coordinating Die. I started my card by stamping my wreath image with a watercolor friendly ink. I then used my Zig Clean Color Real Brush Pens to watercolor all of my spring flowers. Once this was dry, I used the coordinating die to die cut my wreath.

Next, I began working on my card panel. I used a piece of white cardstock for my card front. I die cut the scallop border with the Scallop Borders Die Set.  I then attached this to a piece of plaid patterned paper.

To finish my card, I stamped my sentiment (also included in the Spring Wreath set) in the center of my white cardstock. Lastly, I attached my wreath with foam adhesive to my card front.

PRIZES: be sure to leave comments on each stop. I’m giving away 4 $25 gift certificates to four random comments (2 winners each day) left before March 13, 2019 at 11:59 PM PST. I’ll be announcing the winners next week, so be sure to return and see if you are one of the winners!

 
Pretty Pink Posh blog <<you are here
Angelica Conrad
Sharna Waksmulski
Rina Galit
Dana Kirby
Heather Hoffman
Thi Lam
Melody Rupple
Mindy Eggen
Suzy Plantamura
Caly Person

We hope that you enjoyed the blog hop these last two days. Thank you for all the sweet comments, love and support!

| |

March Product Release Blog Hop- Day 1

Check out Day 2 of the blog hop HERE

Hi, everyone! It’s Marge for you today and I’m so happy to share a card featuring the New Release products from Pretty Pink Posh.

I started by trimming a piece of heavy weight cold press watercolor paper into A2 size, and then I stamped beautiful Magnolia Flowers using Versafine onyx black ink. I water-colored my images using watercolor brush markers and watercolor paints. I also colored a butterfly from Beautiful Butterflies set and cut it using Beautiful Butterflies Coordinating Dies. Once I finished coloring, I splattered with white and dark ink all over the panel and let them dry. Then, I stamped a sentiment from the Beautiful Butterflies set and adhered the butterfly close to flowers using Mini Glue Dots.

To decorate the butterfly, I added some jewels on the wings and body: Metallic Gold JewelsWatermelon Jewels, and Midnight Black Jewels. Next, I foam mounted the panel onto A2 sized card base and finished off my card by adding some Sparkling Clear Sequins Mix.

PRIZES: be sure to leave comments on each stop. I’m giving away 4 $25 gift certificates to four random comments (2 winners each day) left before March 13, 2019 at 11:59 PM PST. I’ll be announcing the winners next week, so be sure to return and see if you are one of the winners!


Be sure to leave comments on all the stops- we’ll be randomly picking comments to win gift certificates. See you tomorrow!